
Still not sure what the One Room Challenge is then click the link for more information and maybe you could join me next season!
It definitely feels like time has flown and stood still all at the same time.
We took on a challenge to renovate my parents kitchen and this project has cascaded into others as we tie the rest of the house into the beautiful new kitchen.
Your parents work hard their entire lives to provide and give you all the sustenance and inspiration you need to forge your path in life and it’s nice to take time to give back to them. A way to say thanks for the sleepless nights, hard conversations and the push of motivation when I didn’t know I needed it. Life would be different if they weren’t the people they are and I will be forever grateful for all they’ve don’e *sniff*
OK let’s get back to the reno.
The One Room Challenge has forced us to buckle down and focus resulting in 👇👇👇 Let me take you on a visual journey.
Add a comment and tell me what you think…
1. A blend of Old and New
If you’ve been following along you will know this house is a Queenslander, a gorgeous old house built Circa 1920. We wanted to ensure any renovations we made to the kitchen merged the old and the new but also celebrated some of the beautiful features that make up these gorgeous properties. Features such as the VJ’s, the Stove alcove, the hardwood floors, the tall ceilings and all of the old beautiful glass!
BEFORE
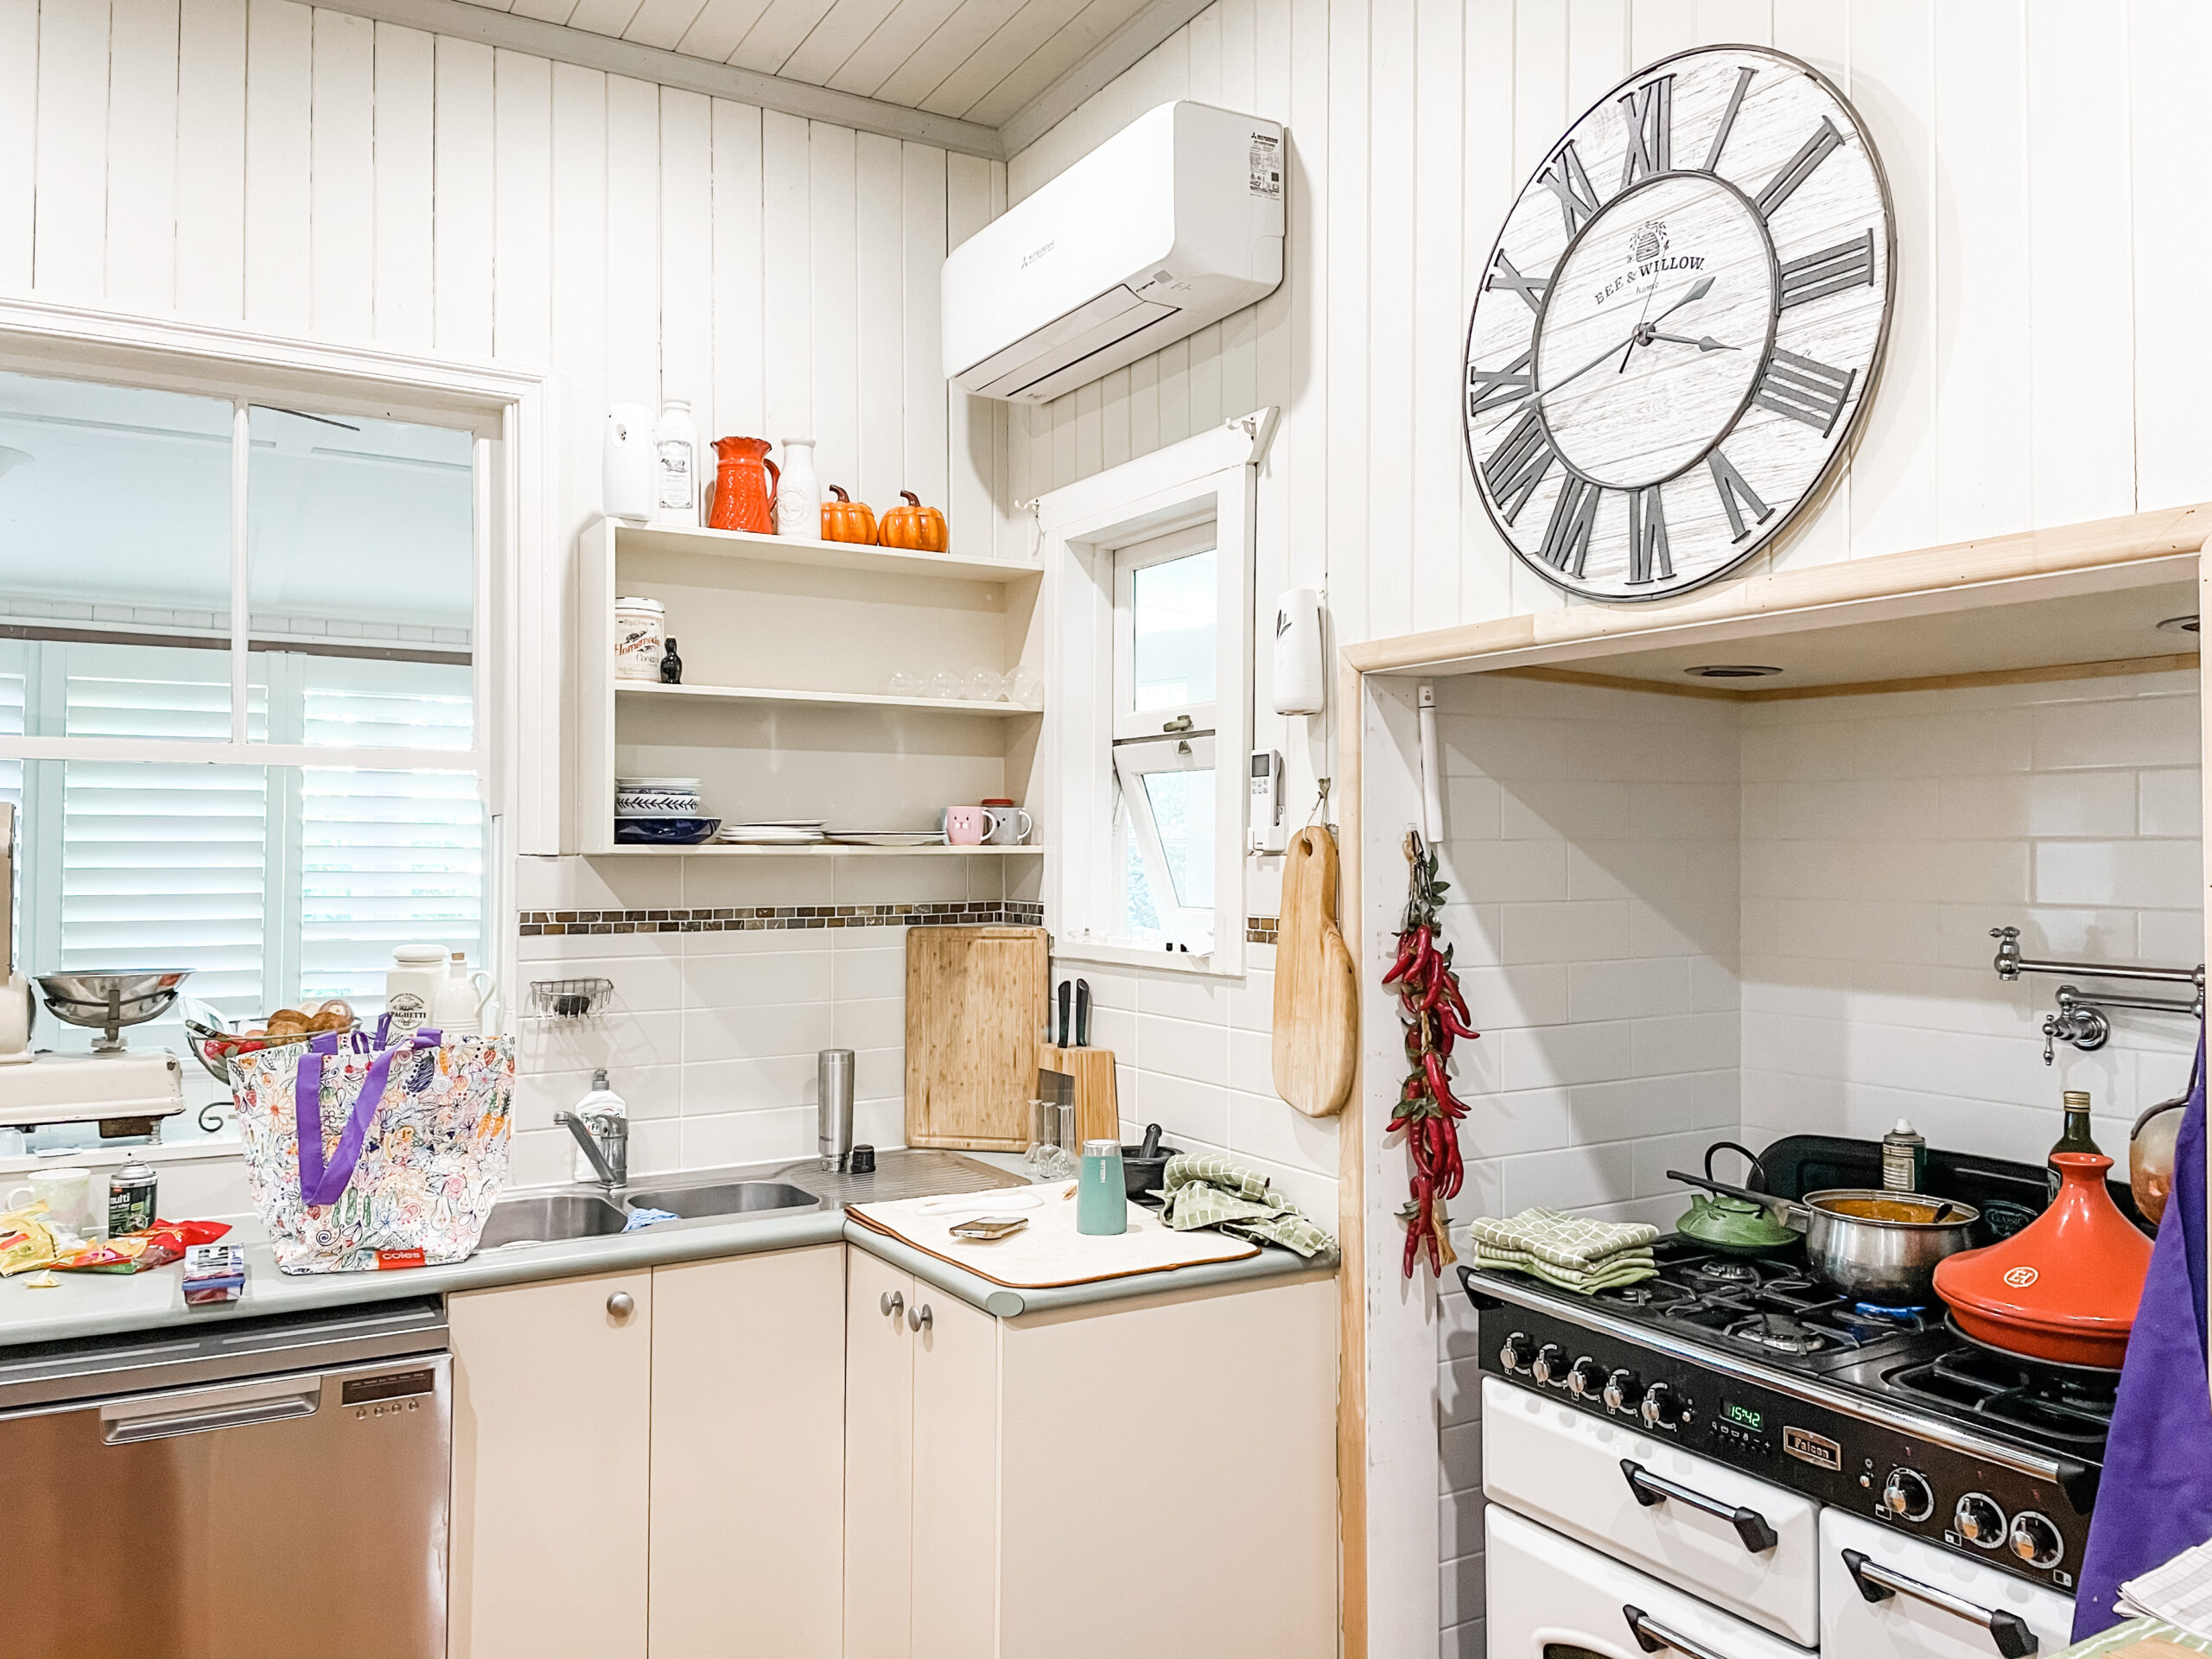
DURING
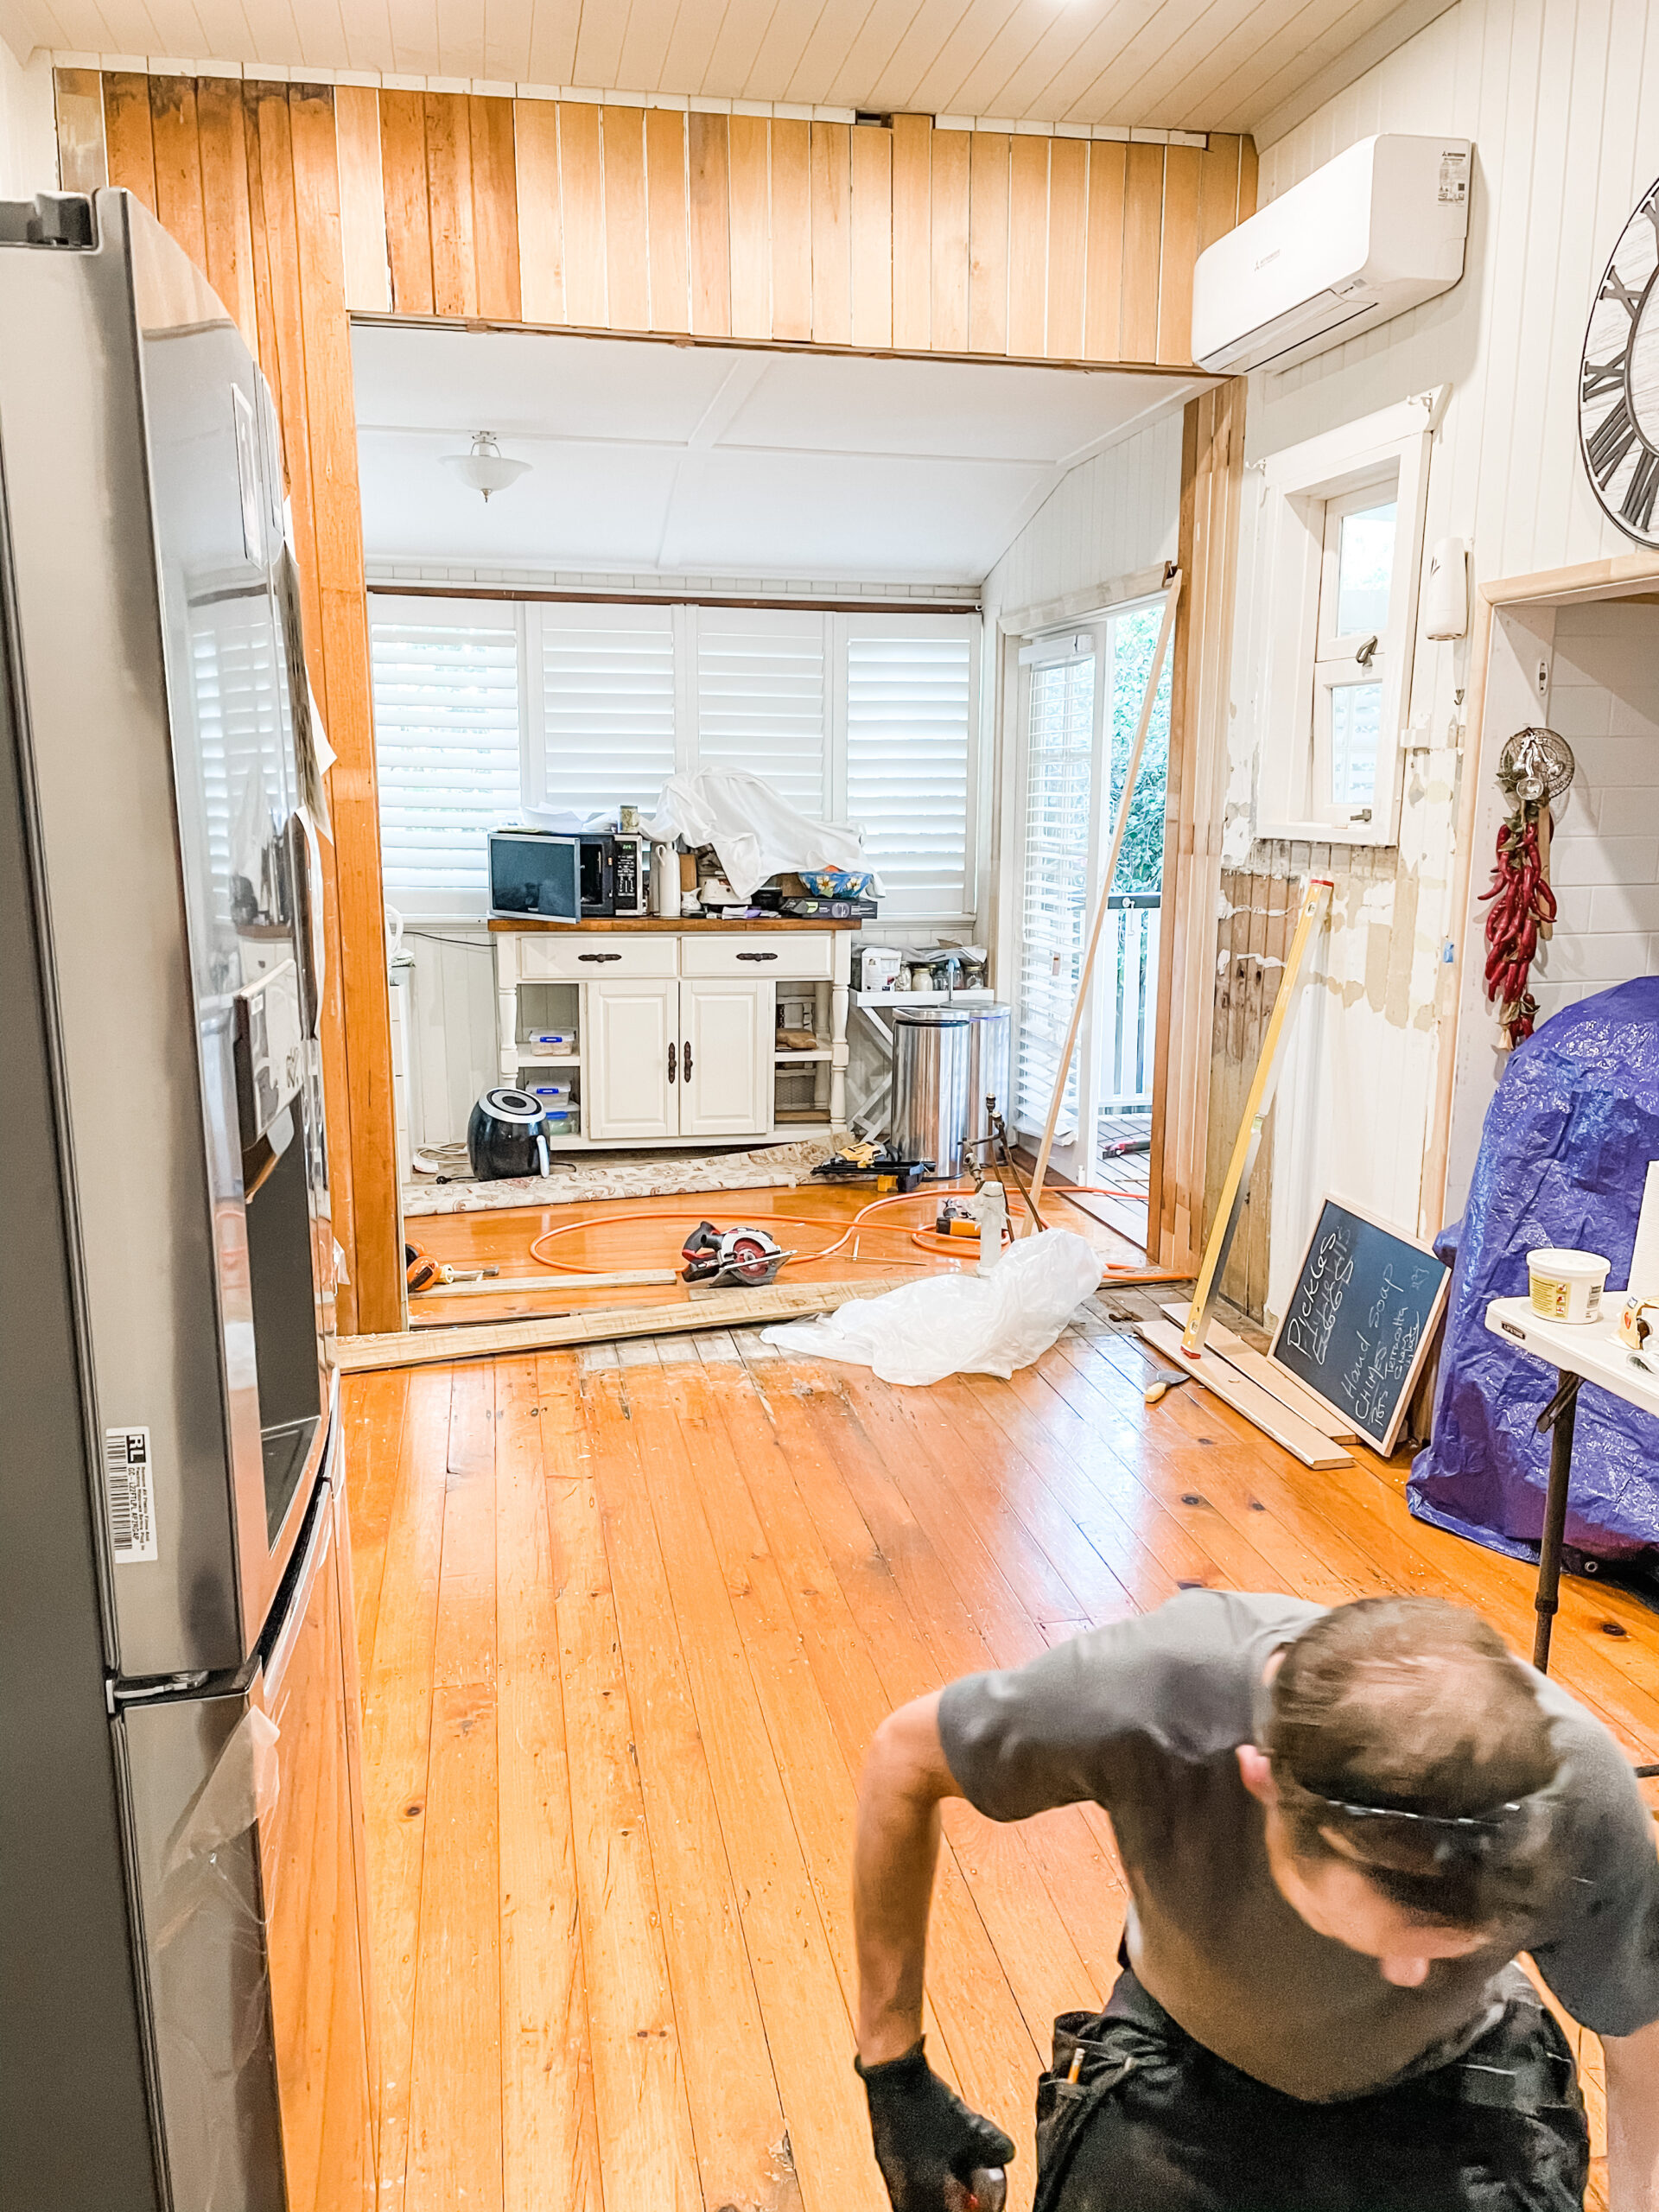
AFTER
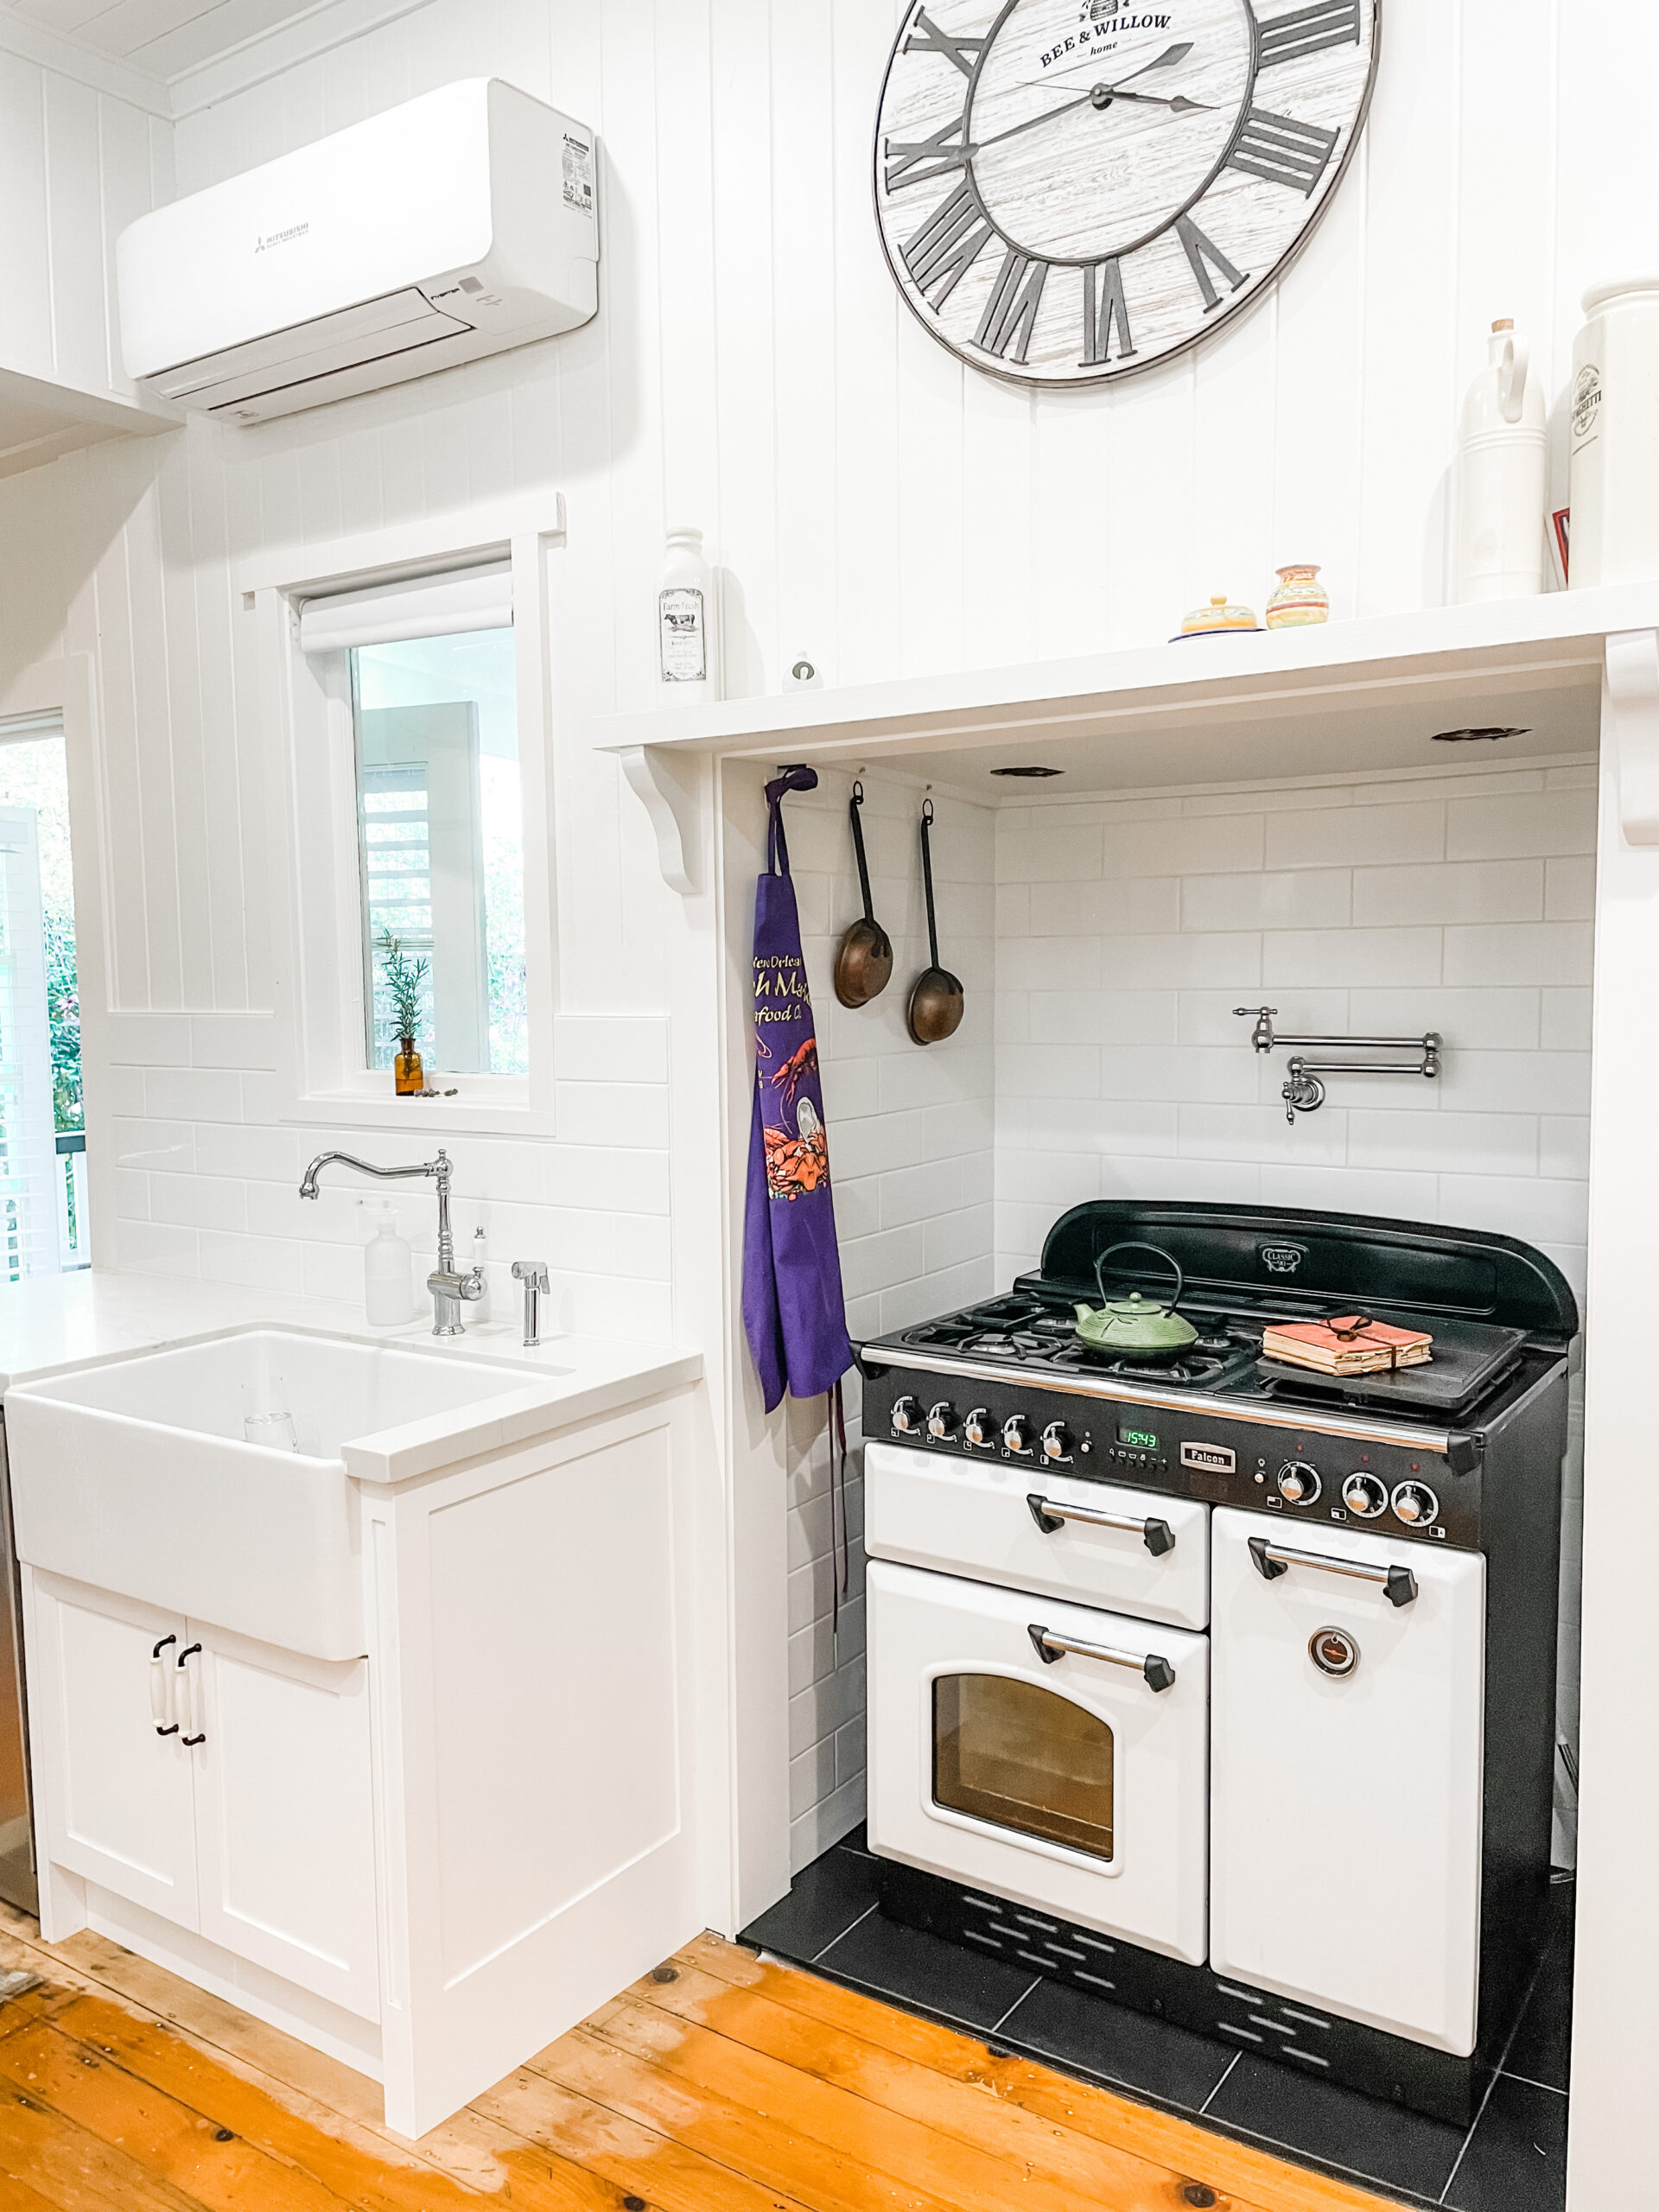
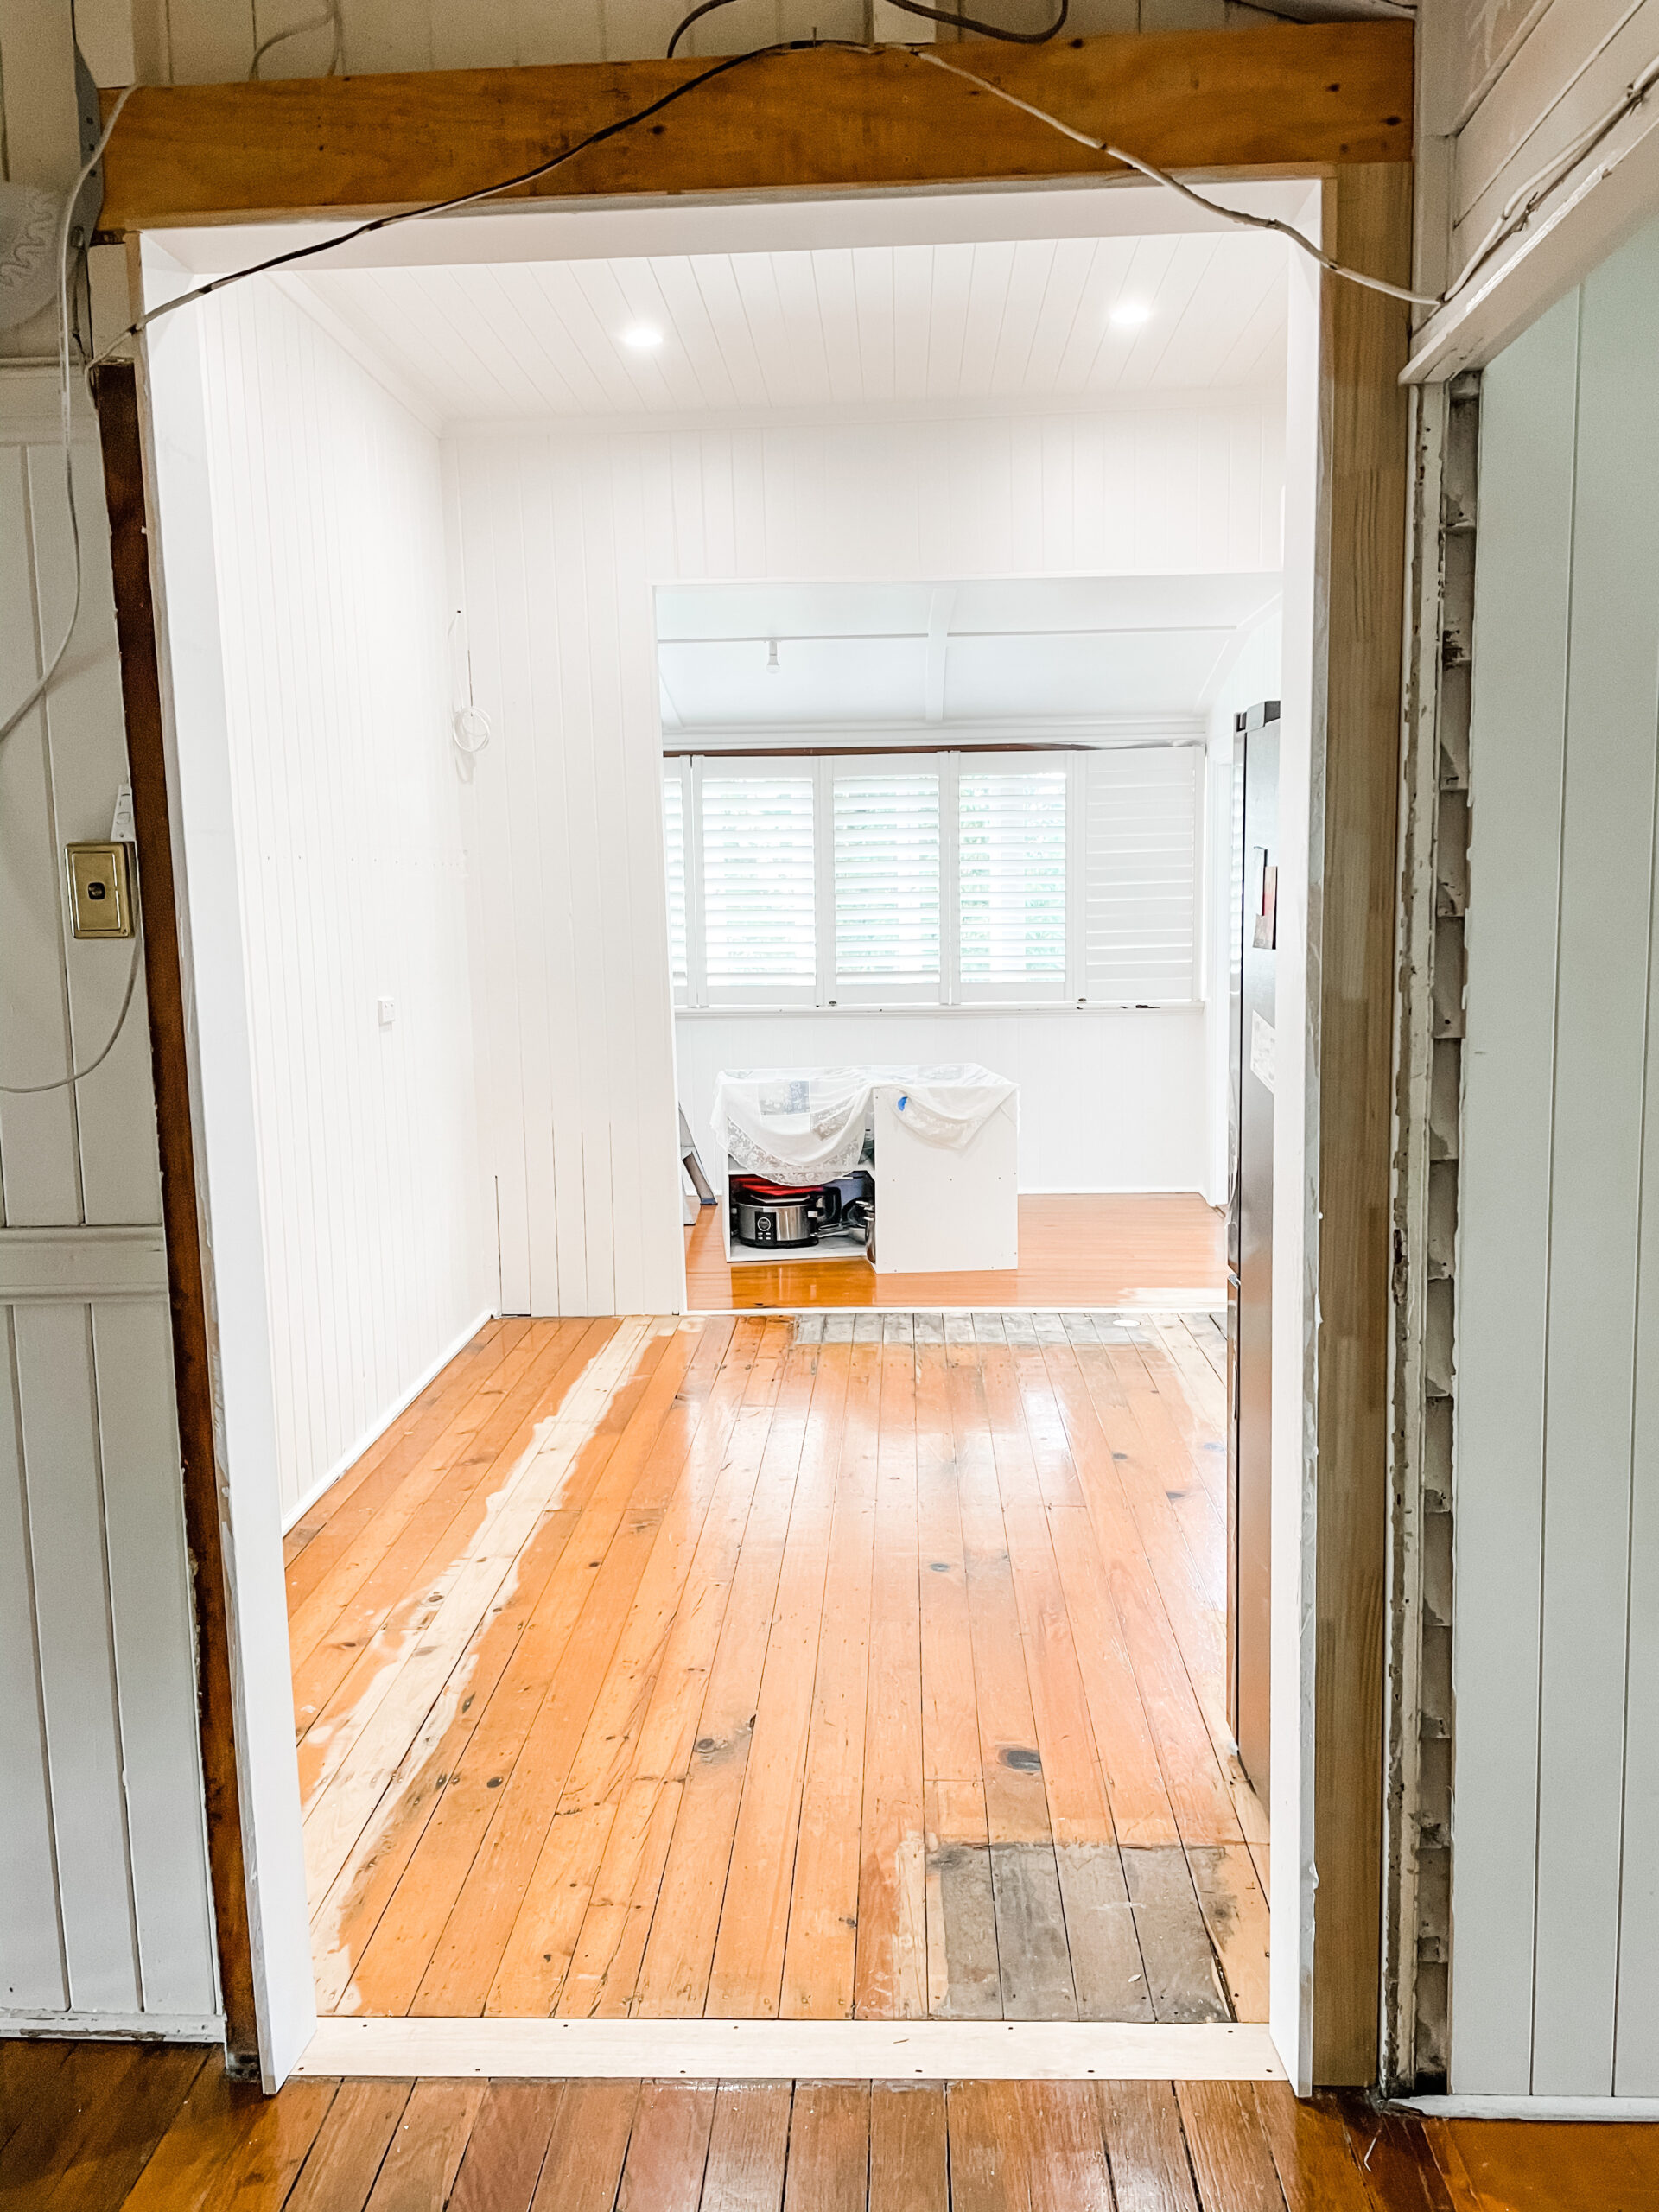
2. Seamless Flow
Previously the kitchen felt like a bad add on to what is a very beautiful, character home. Ill thought out, poorly constructed and quite frankly tatty looking – this kitchen was the ugly duckling of this house. By widening the entryway it tied the kitchen beautifully back into the rest of the house. After all the kitchen should be the heart of the home, not an afterthought.
BEFORE

DURING

AFTER
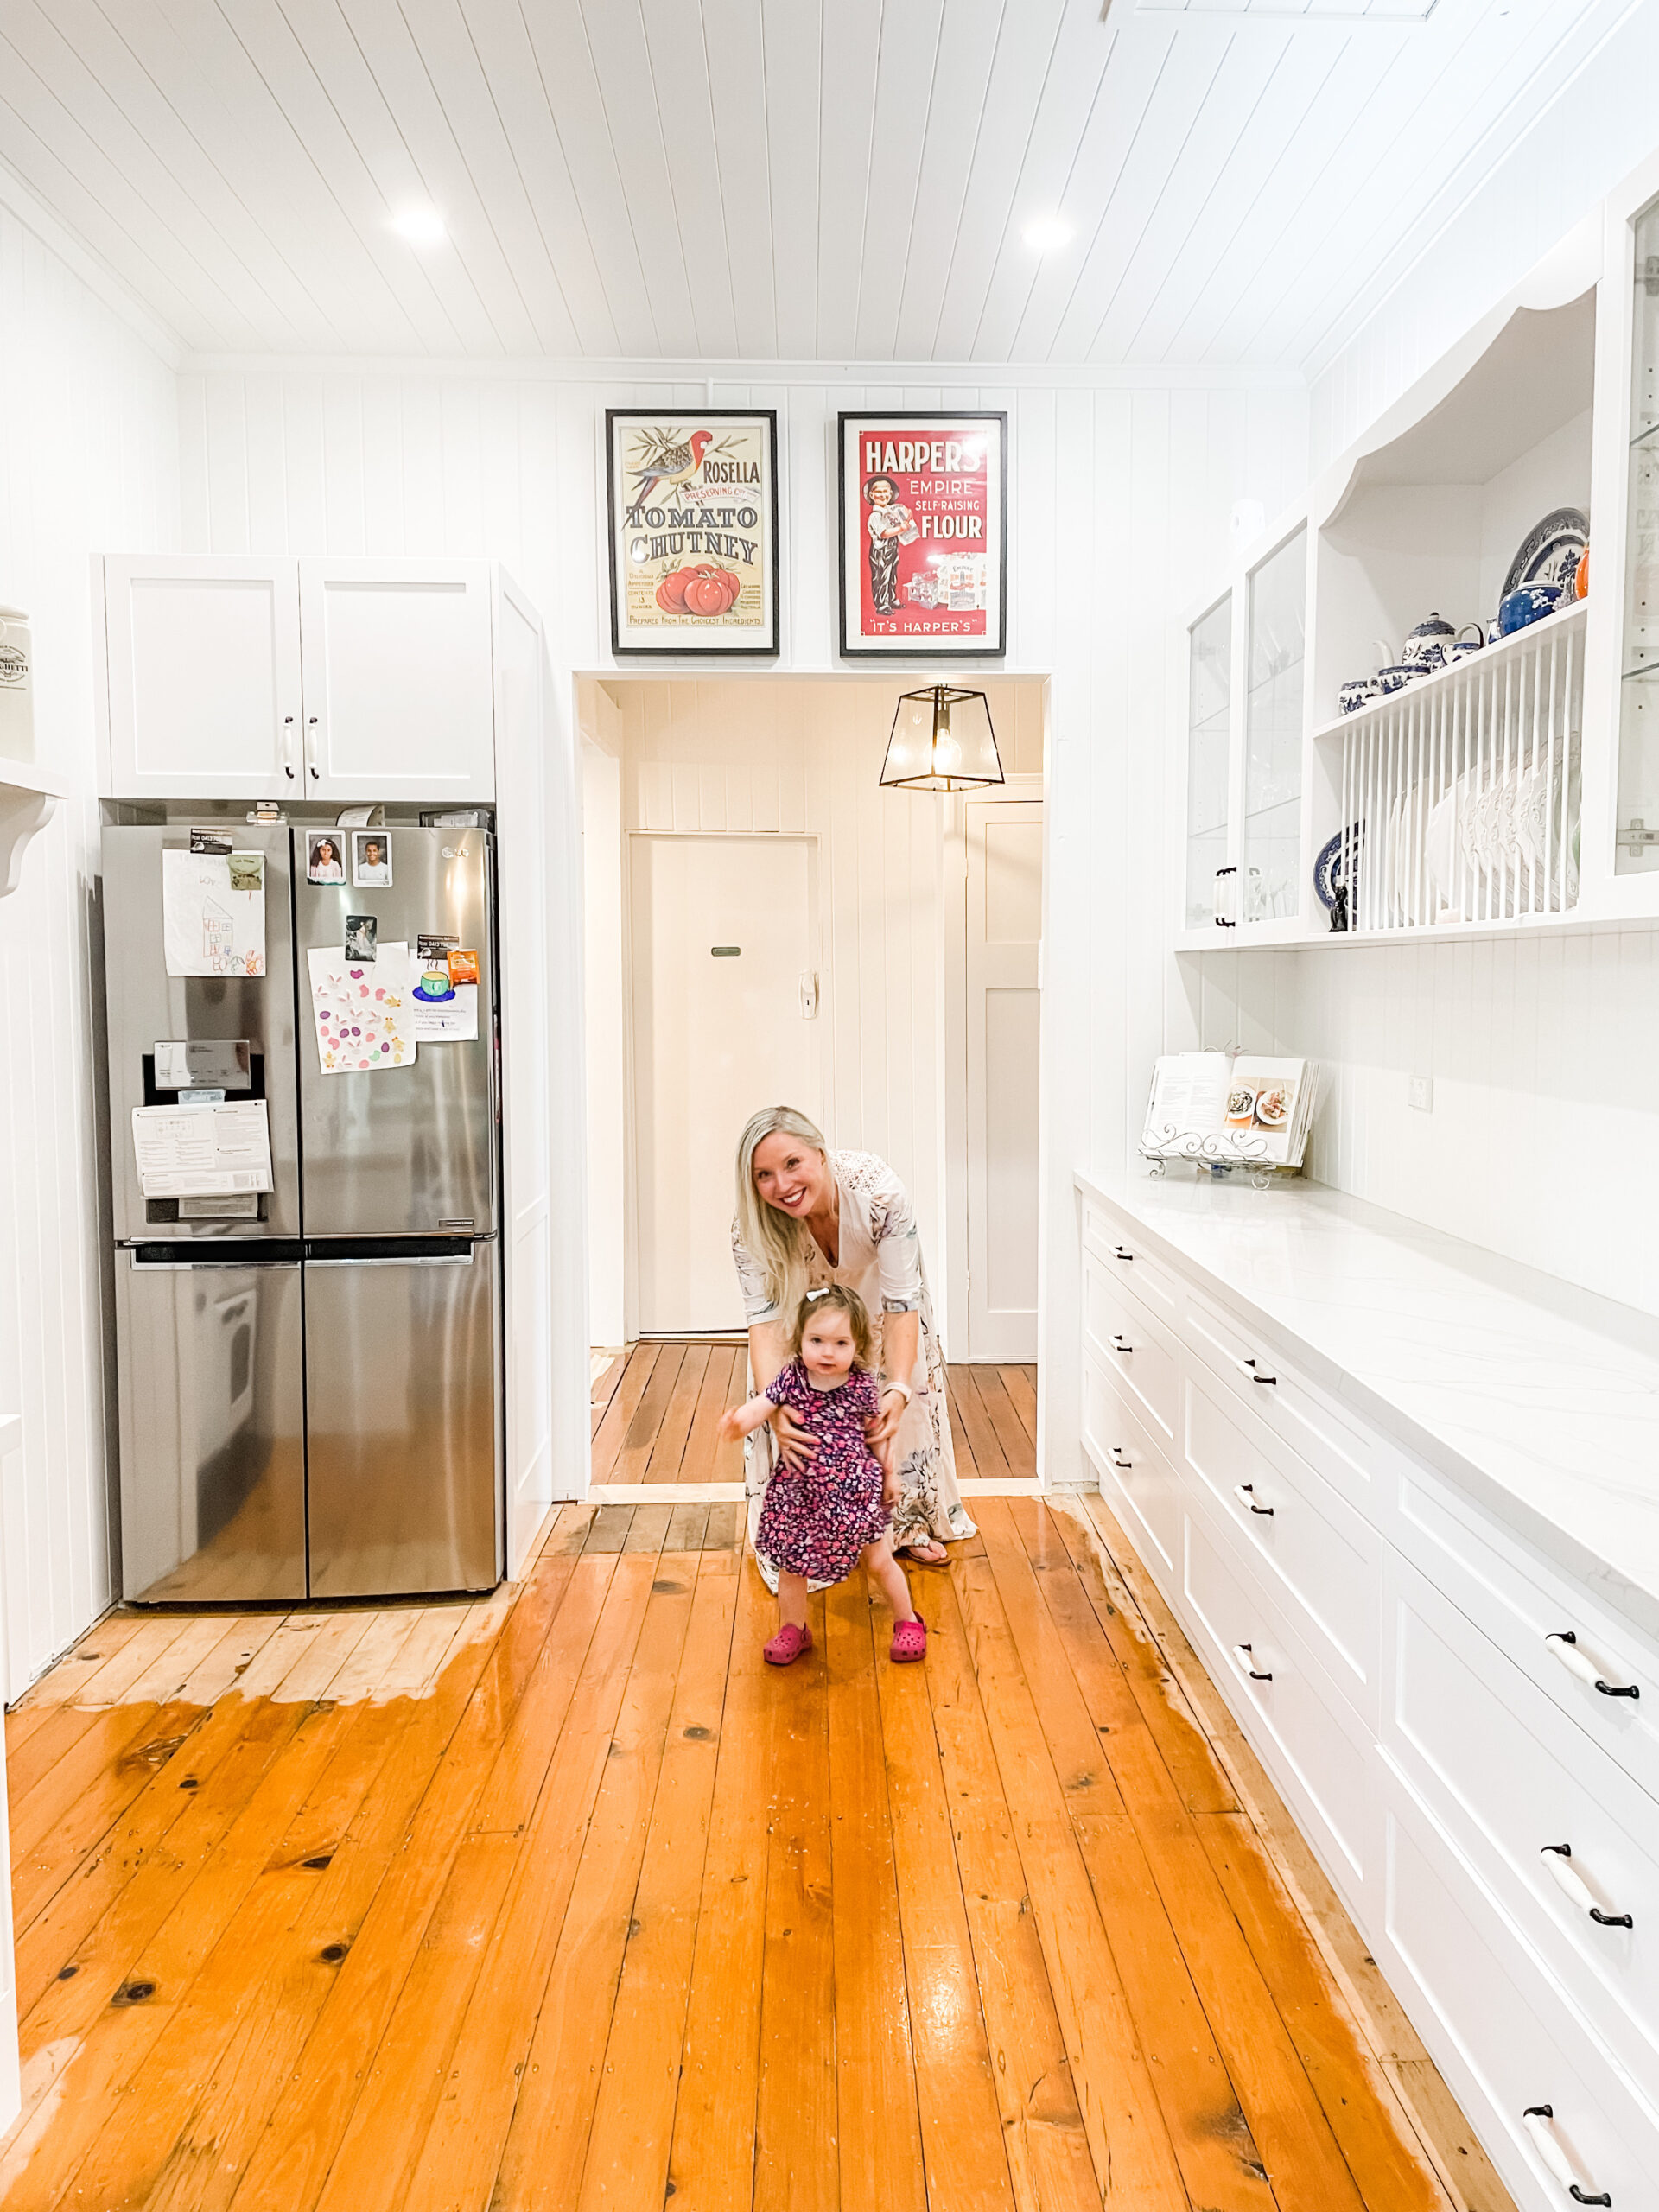
3. Oversized Drawers
My parents wanted a kitchen filled with drawers – they make it easier to access pots, pans and plates without the need to climb to the back of cabinets or be up and down trying to find the lost item in the bottom shelf. Not only was this a very practical choice, it also draws your eye to the many beautiful features of the room.
BEFORE
DURING
AFTER

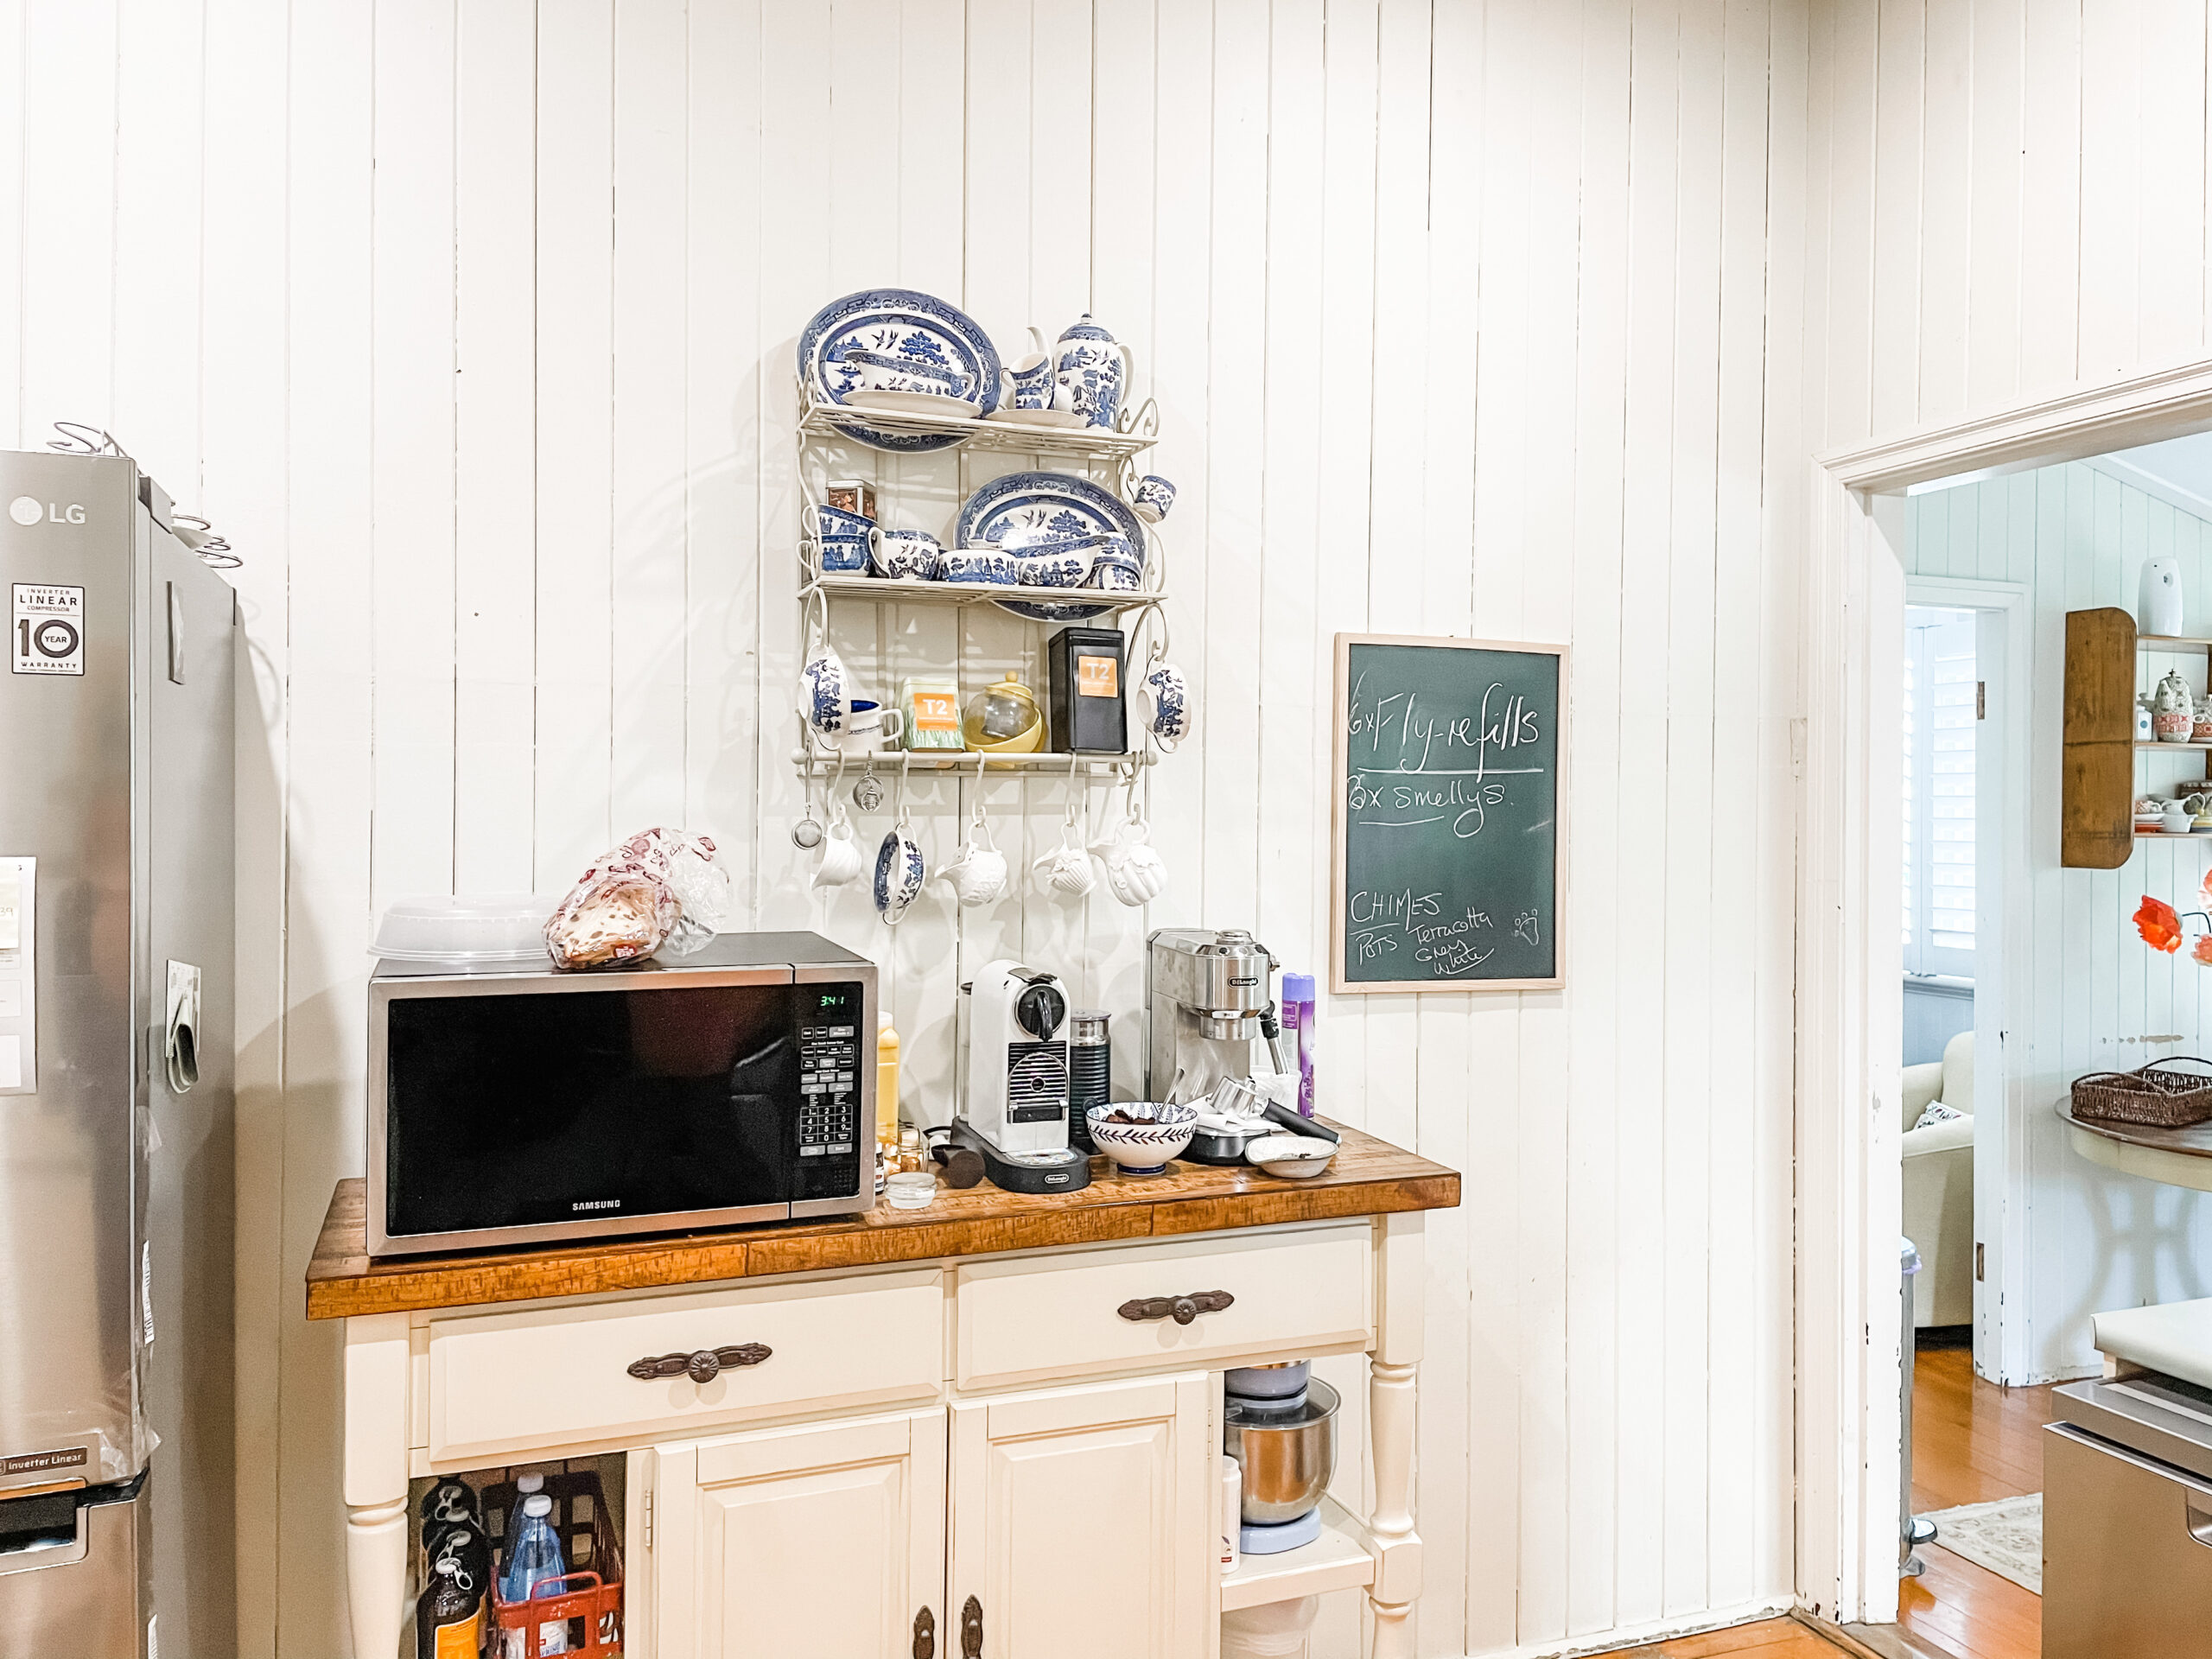
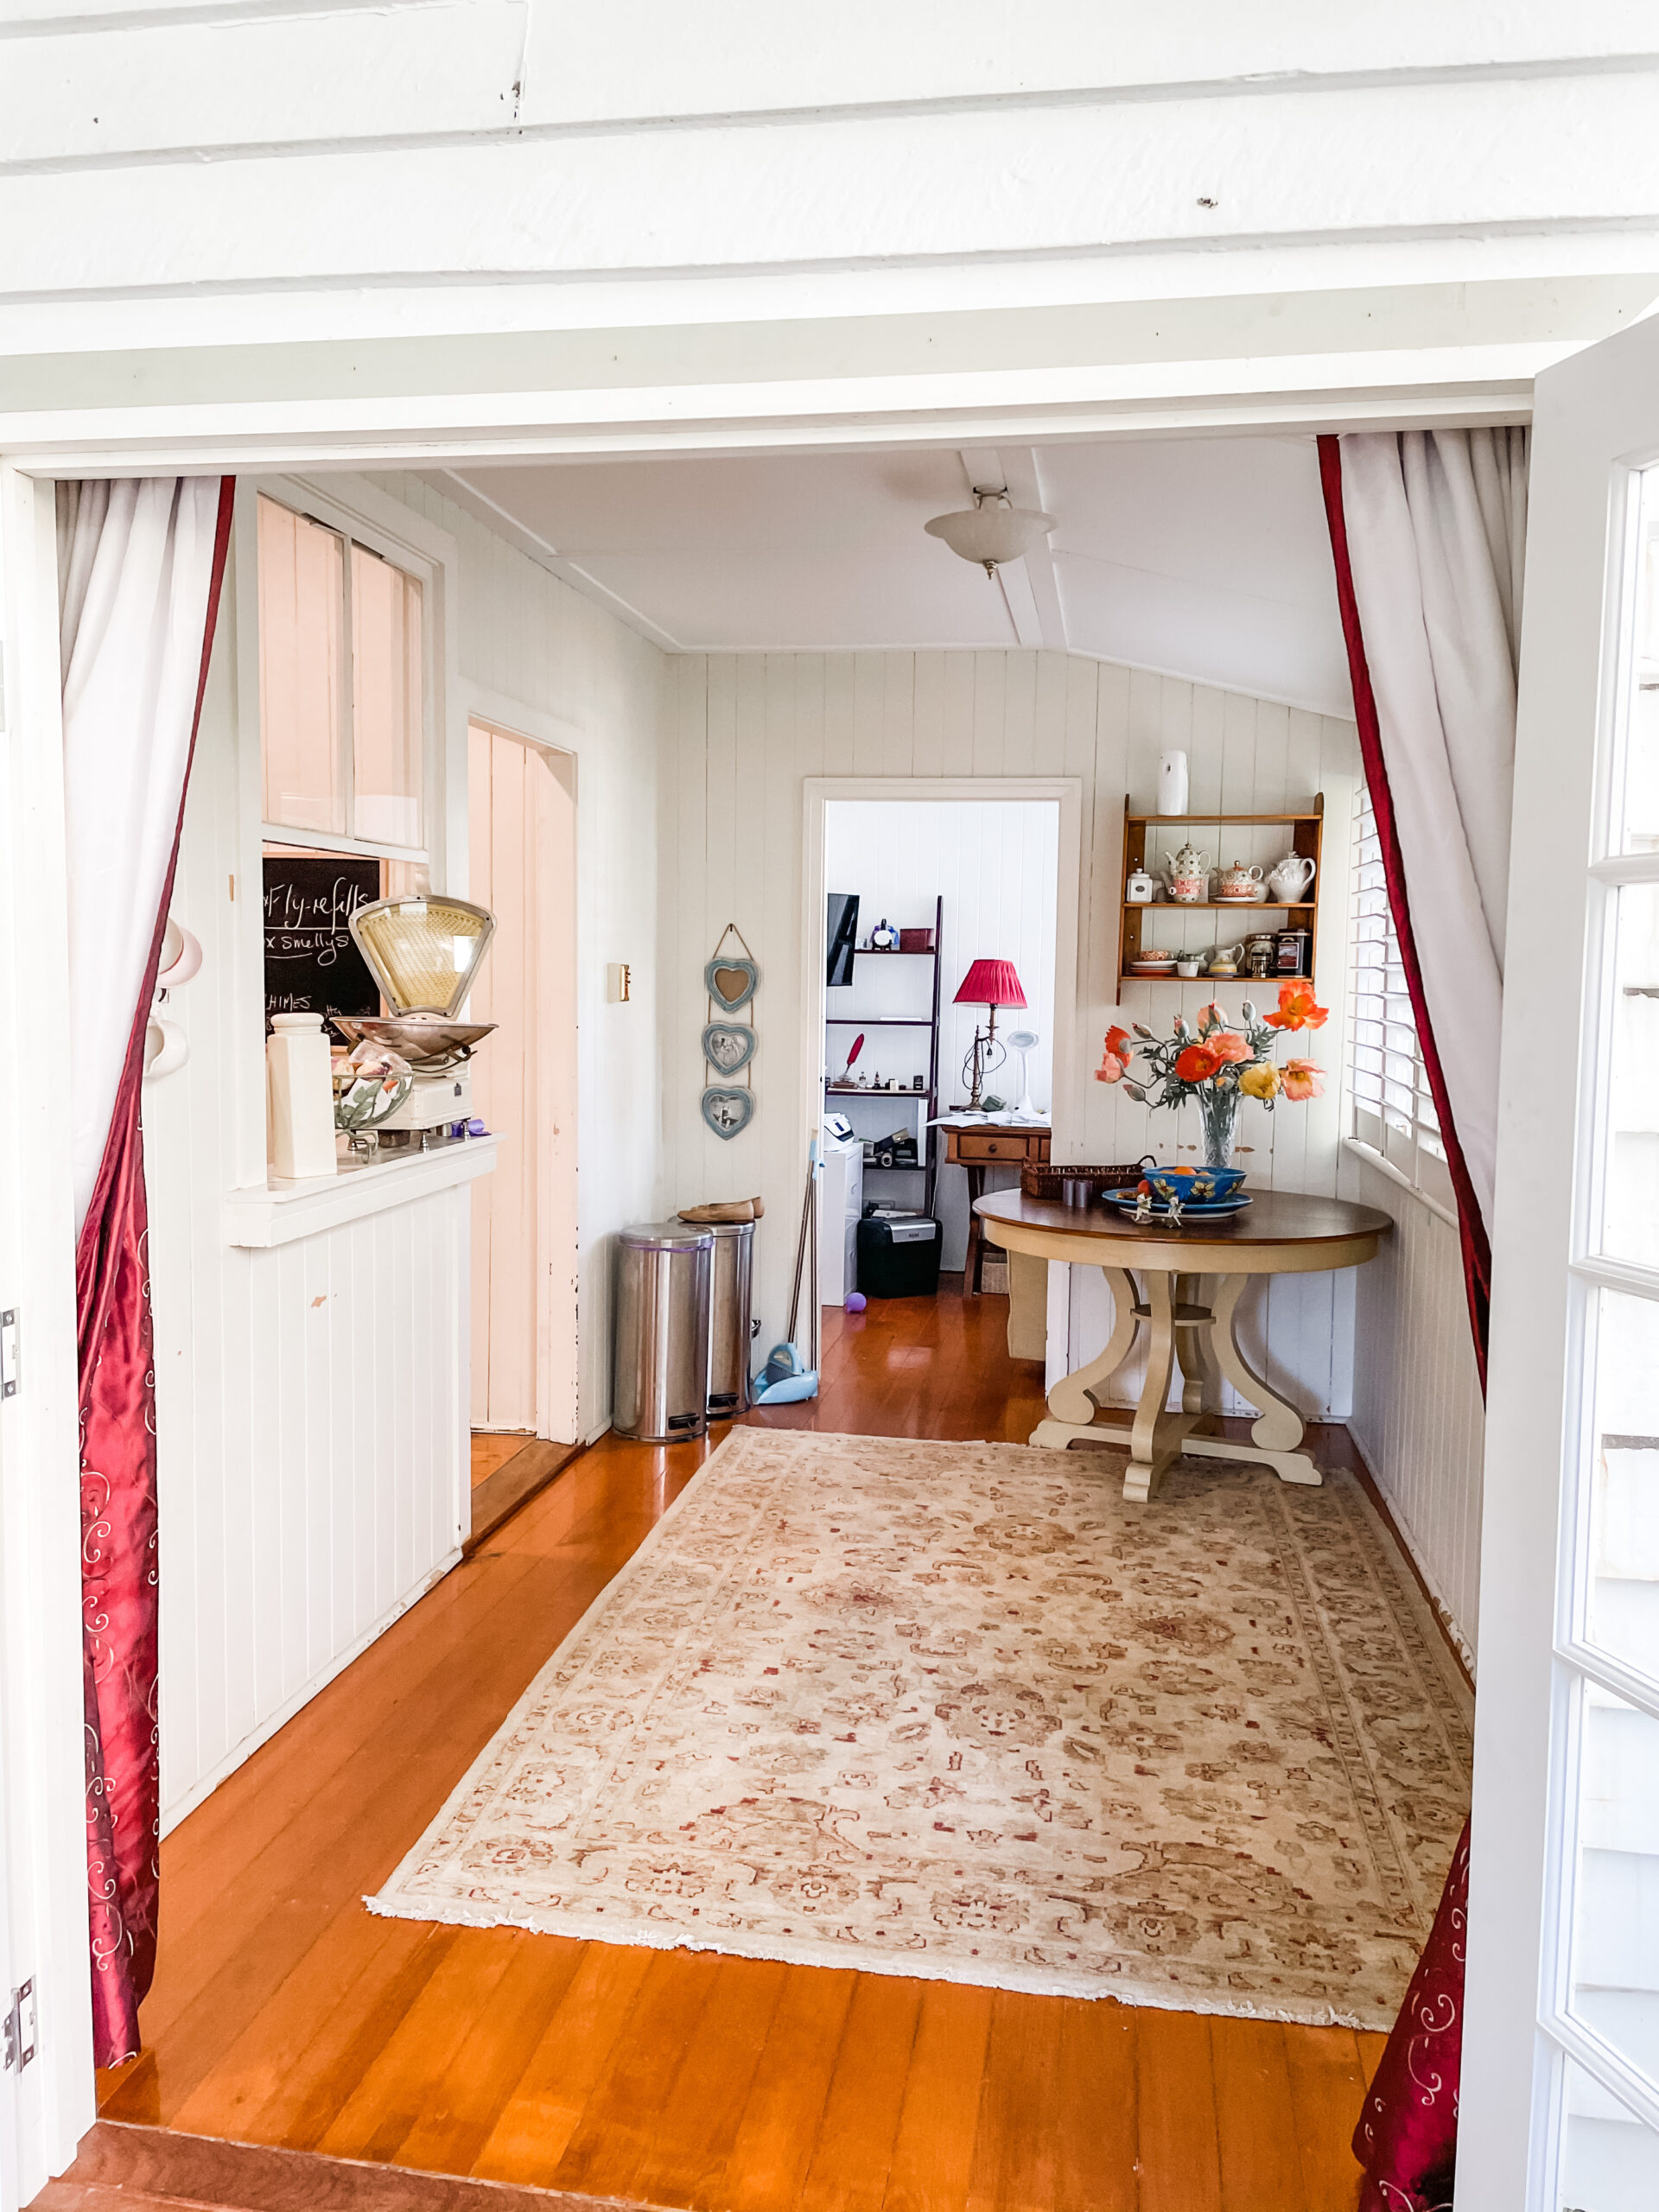
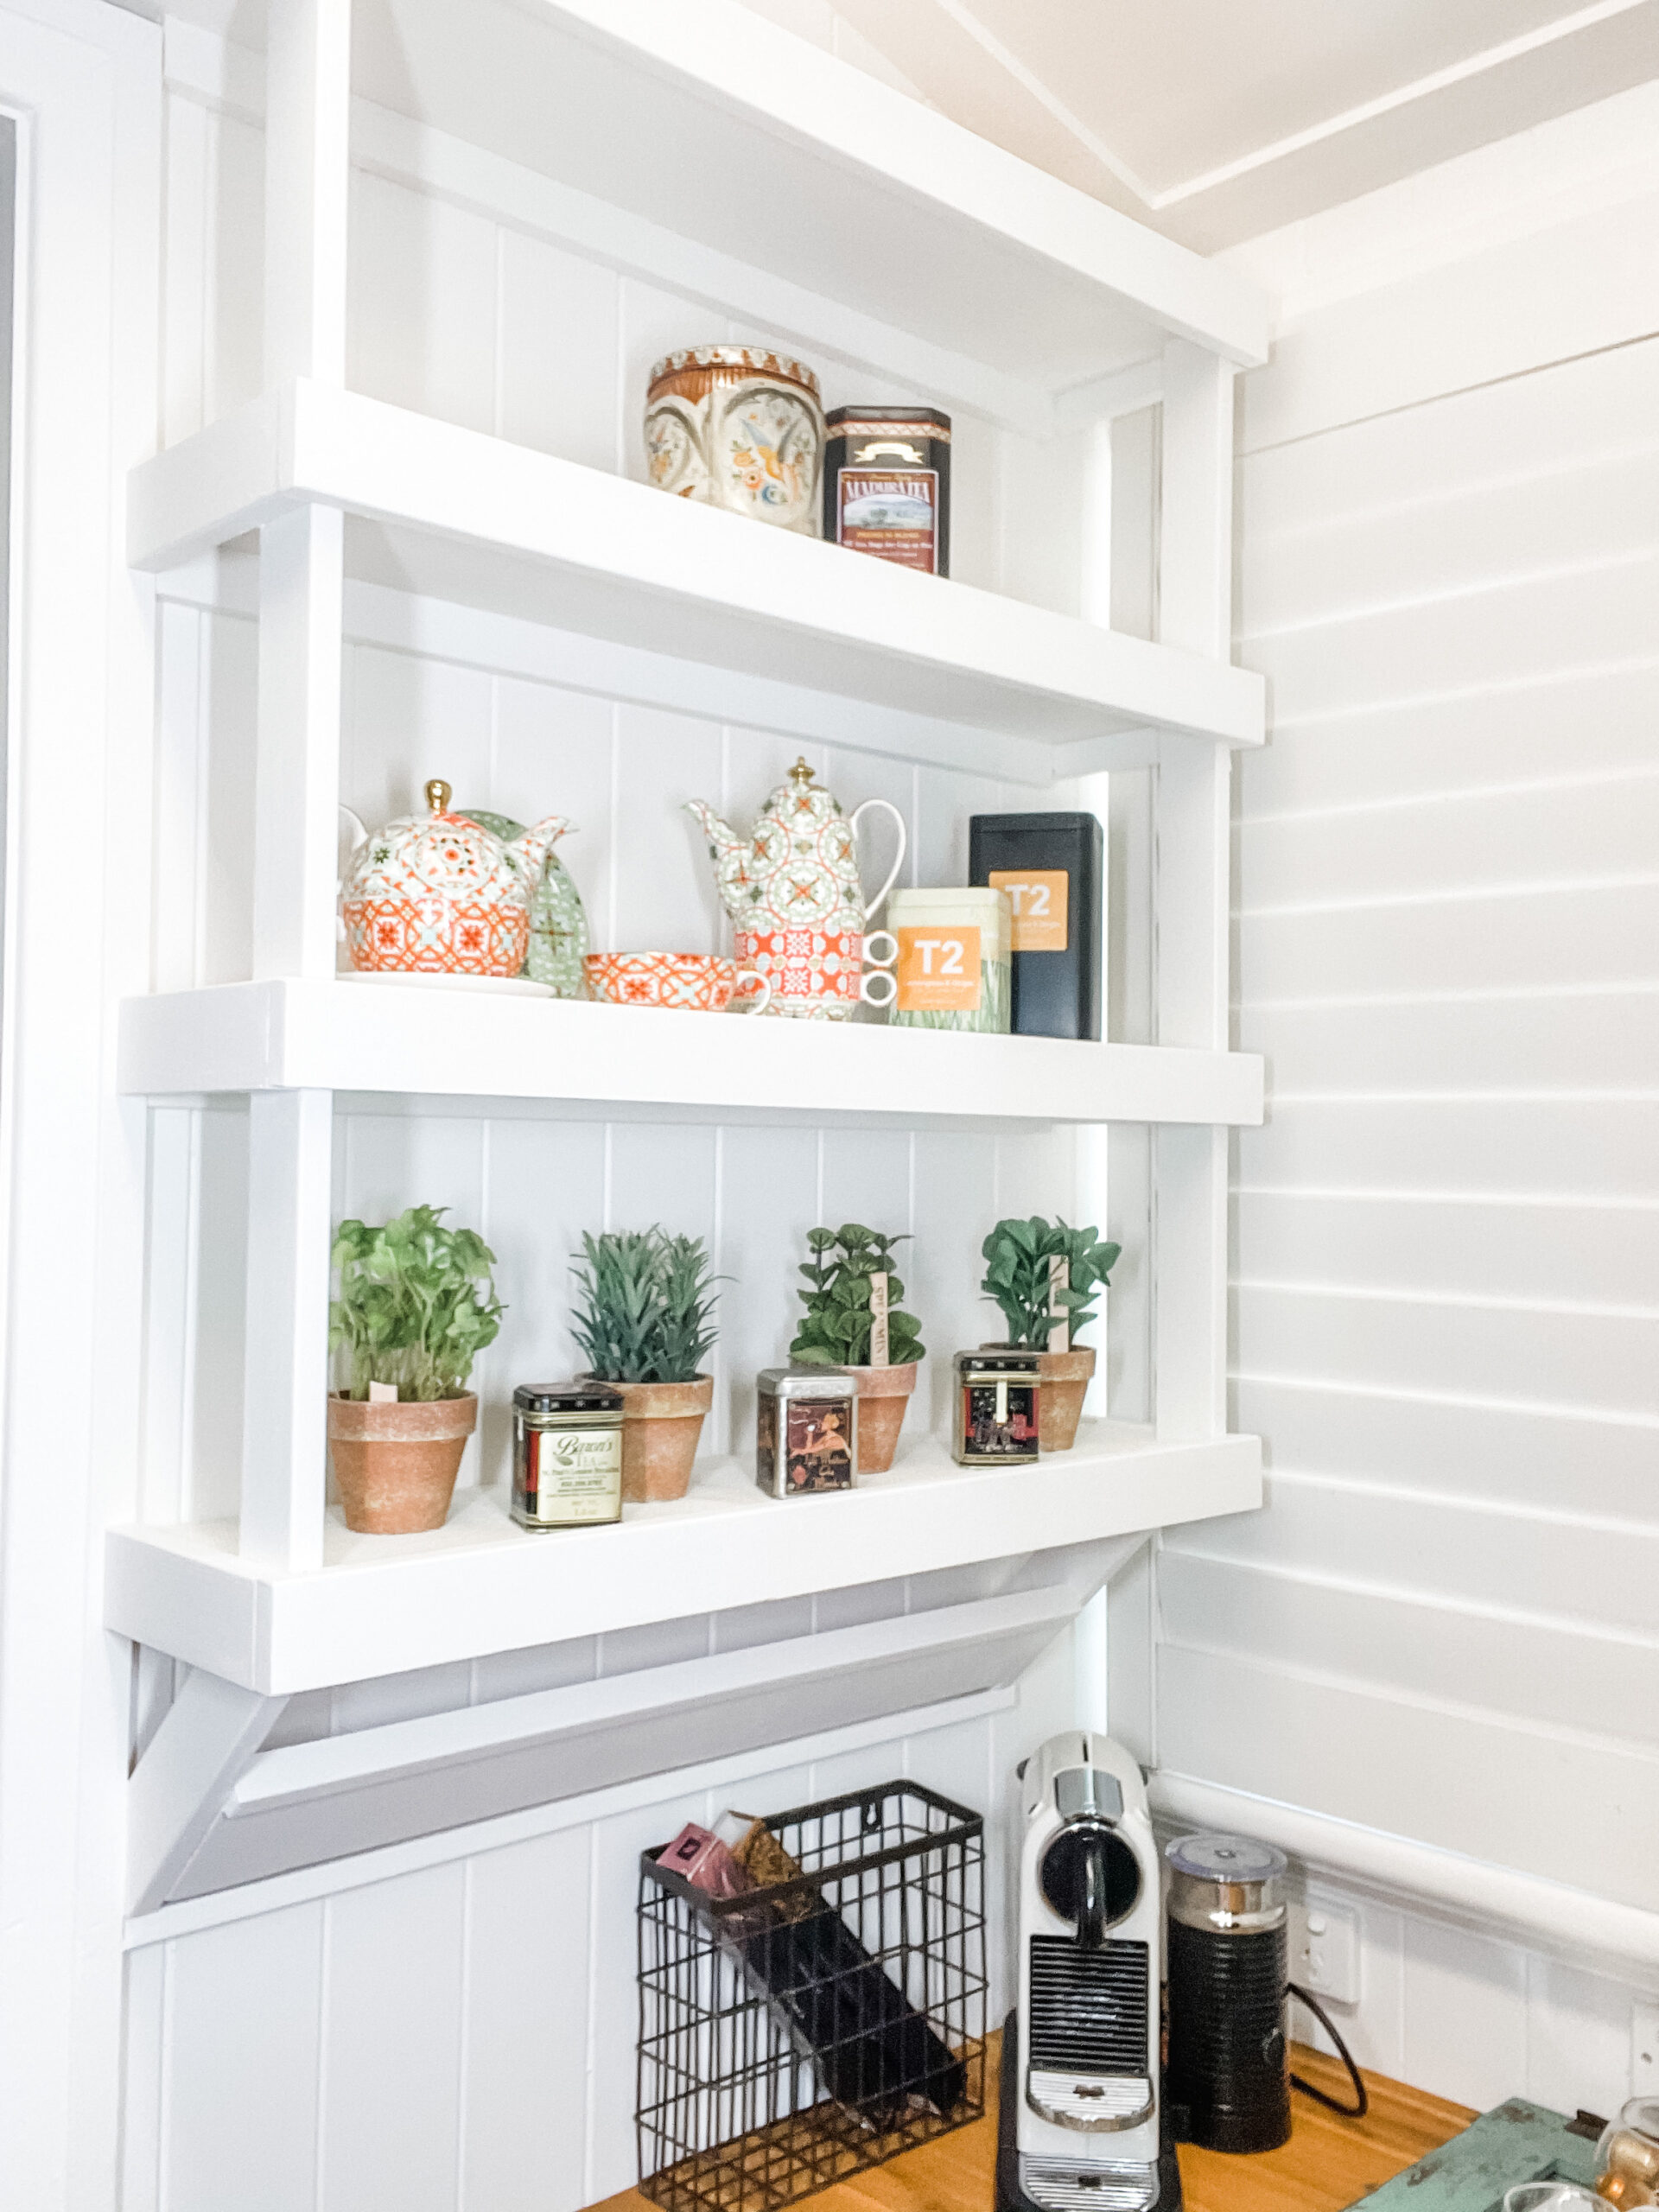
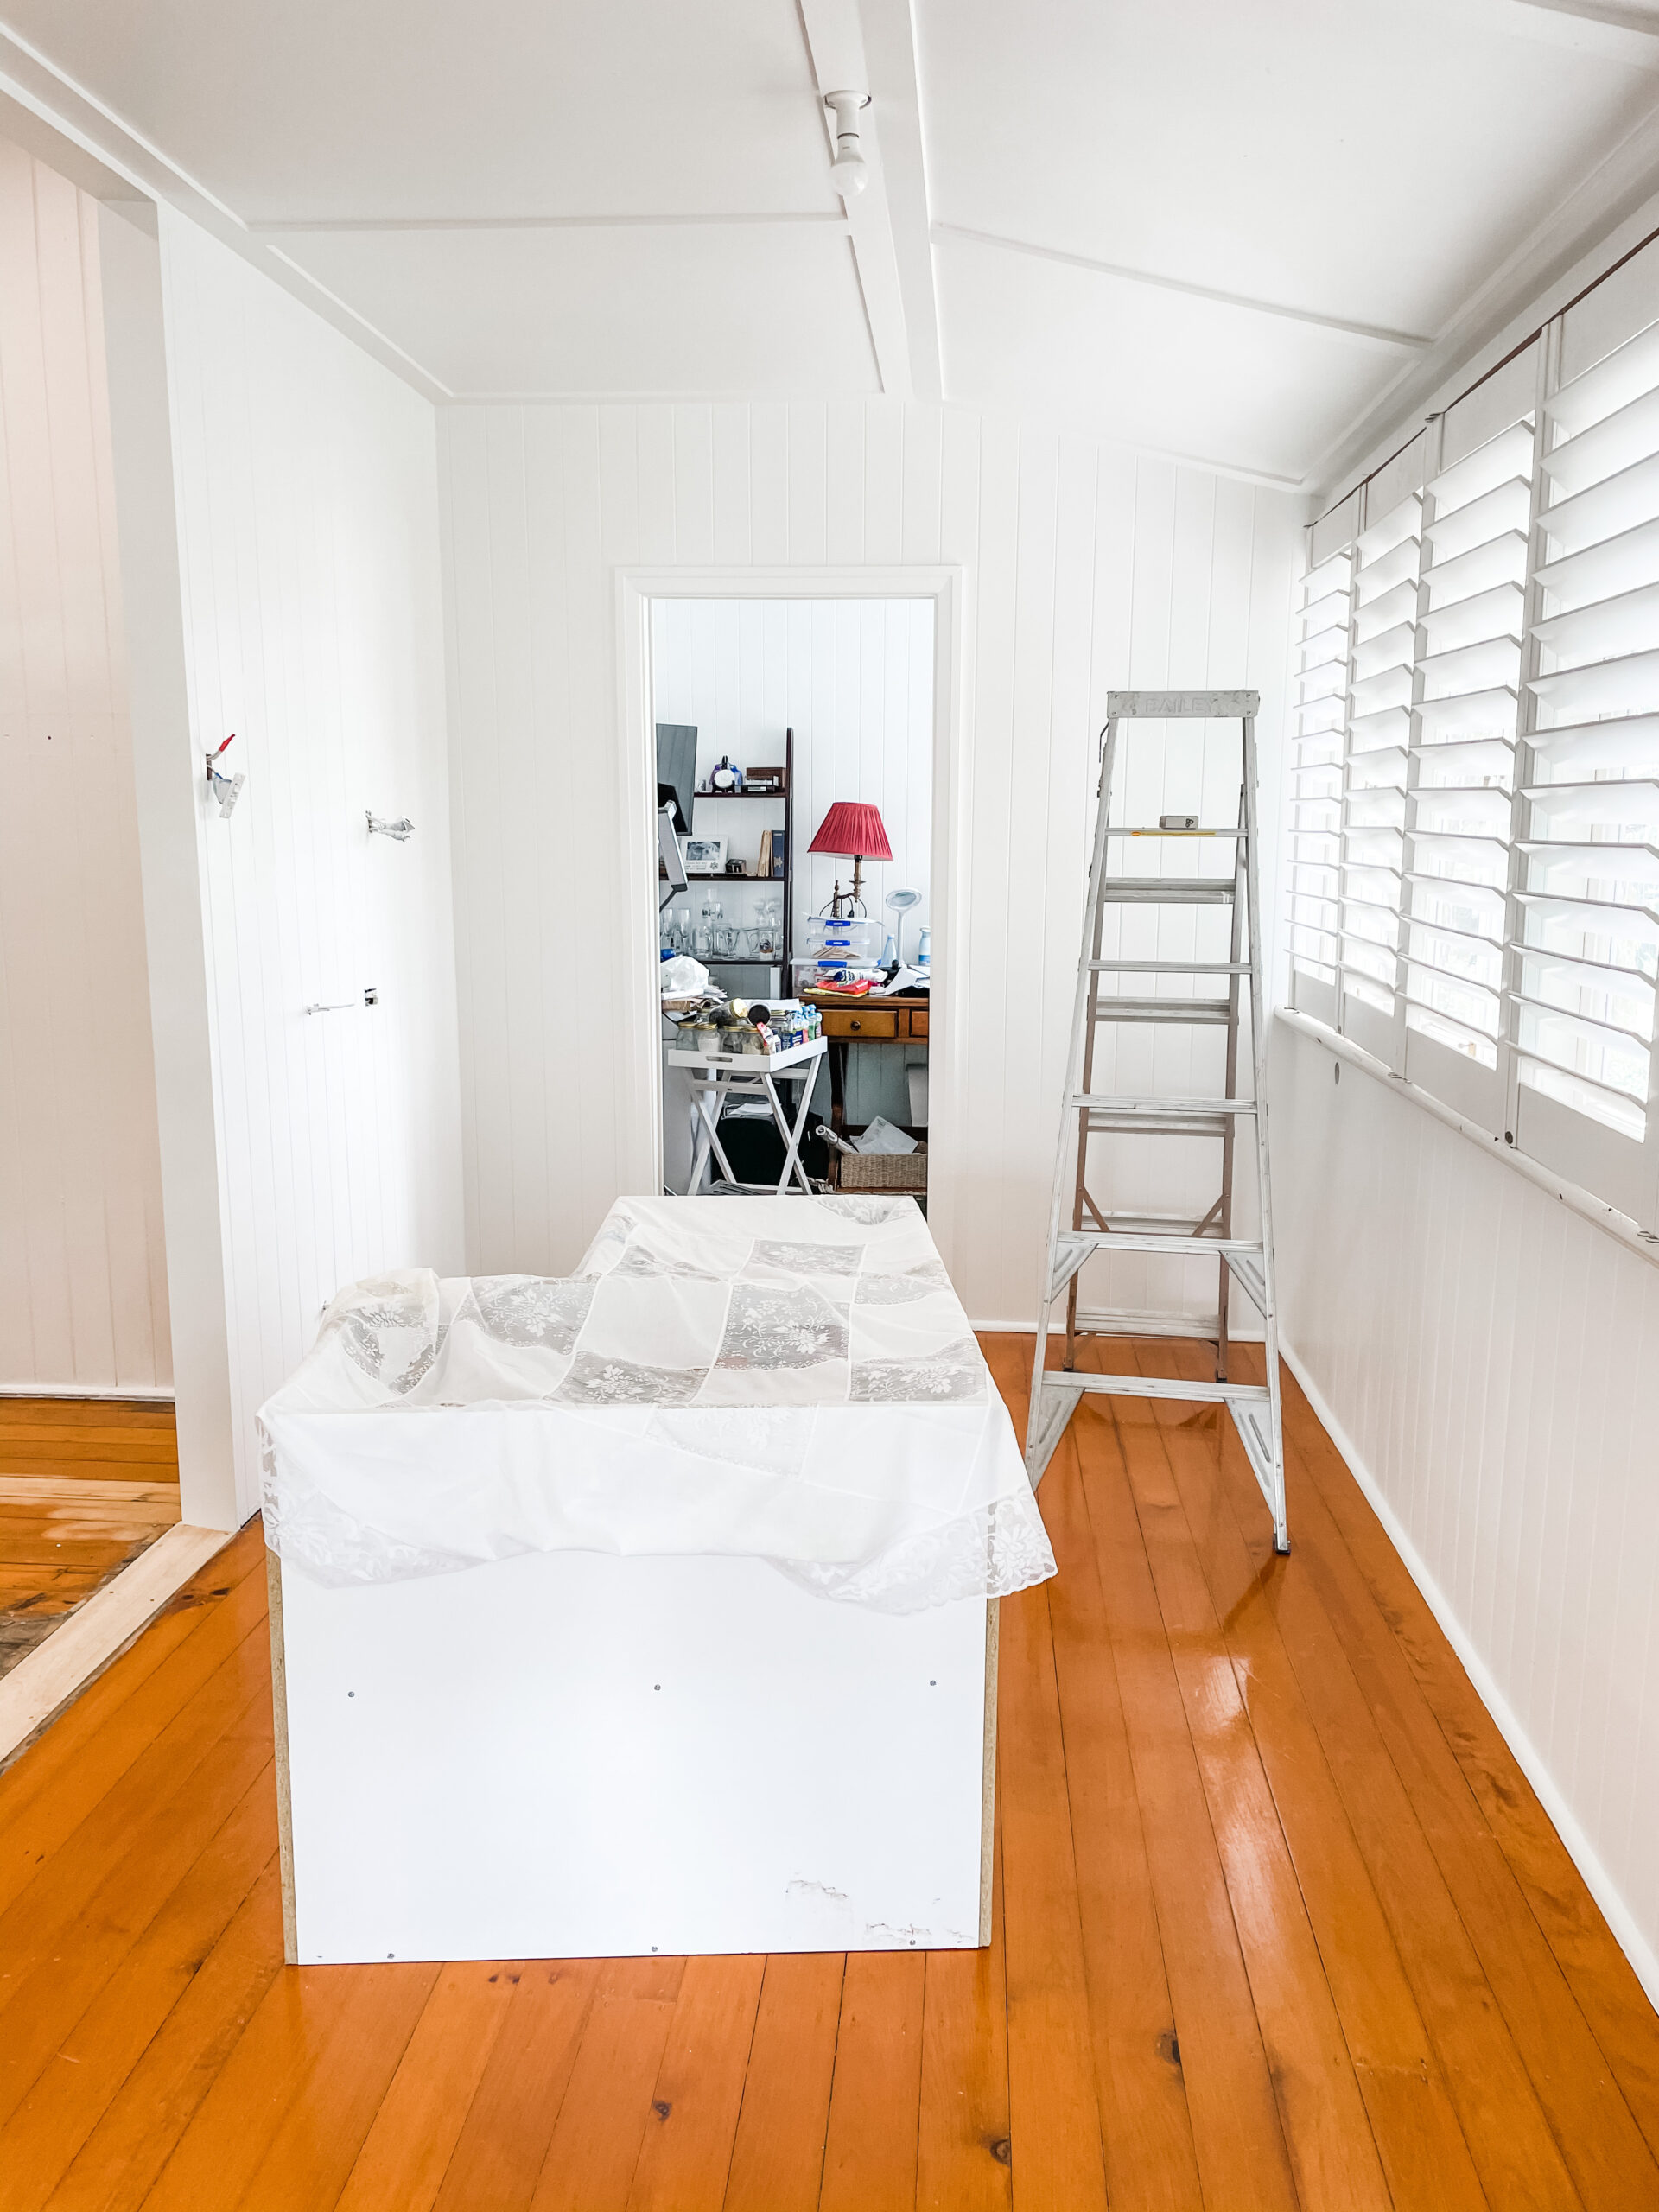
4. Custom Designed and Built Pantry
If you’ve been following along you will know we took what was a dining area and created a beautiful custom pantry. You can really never have too much storage, this pantry offers my parents a great hroom within. aroom to house small appliances, dry food, a coffee station and bar fridge as well as the many other items that get tucked away in a pantry for a rainy day. And don’t forget thos beautiful doors! Check out Week 7 for more details.
BEFORE
DURING
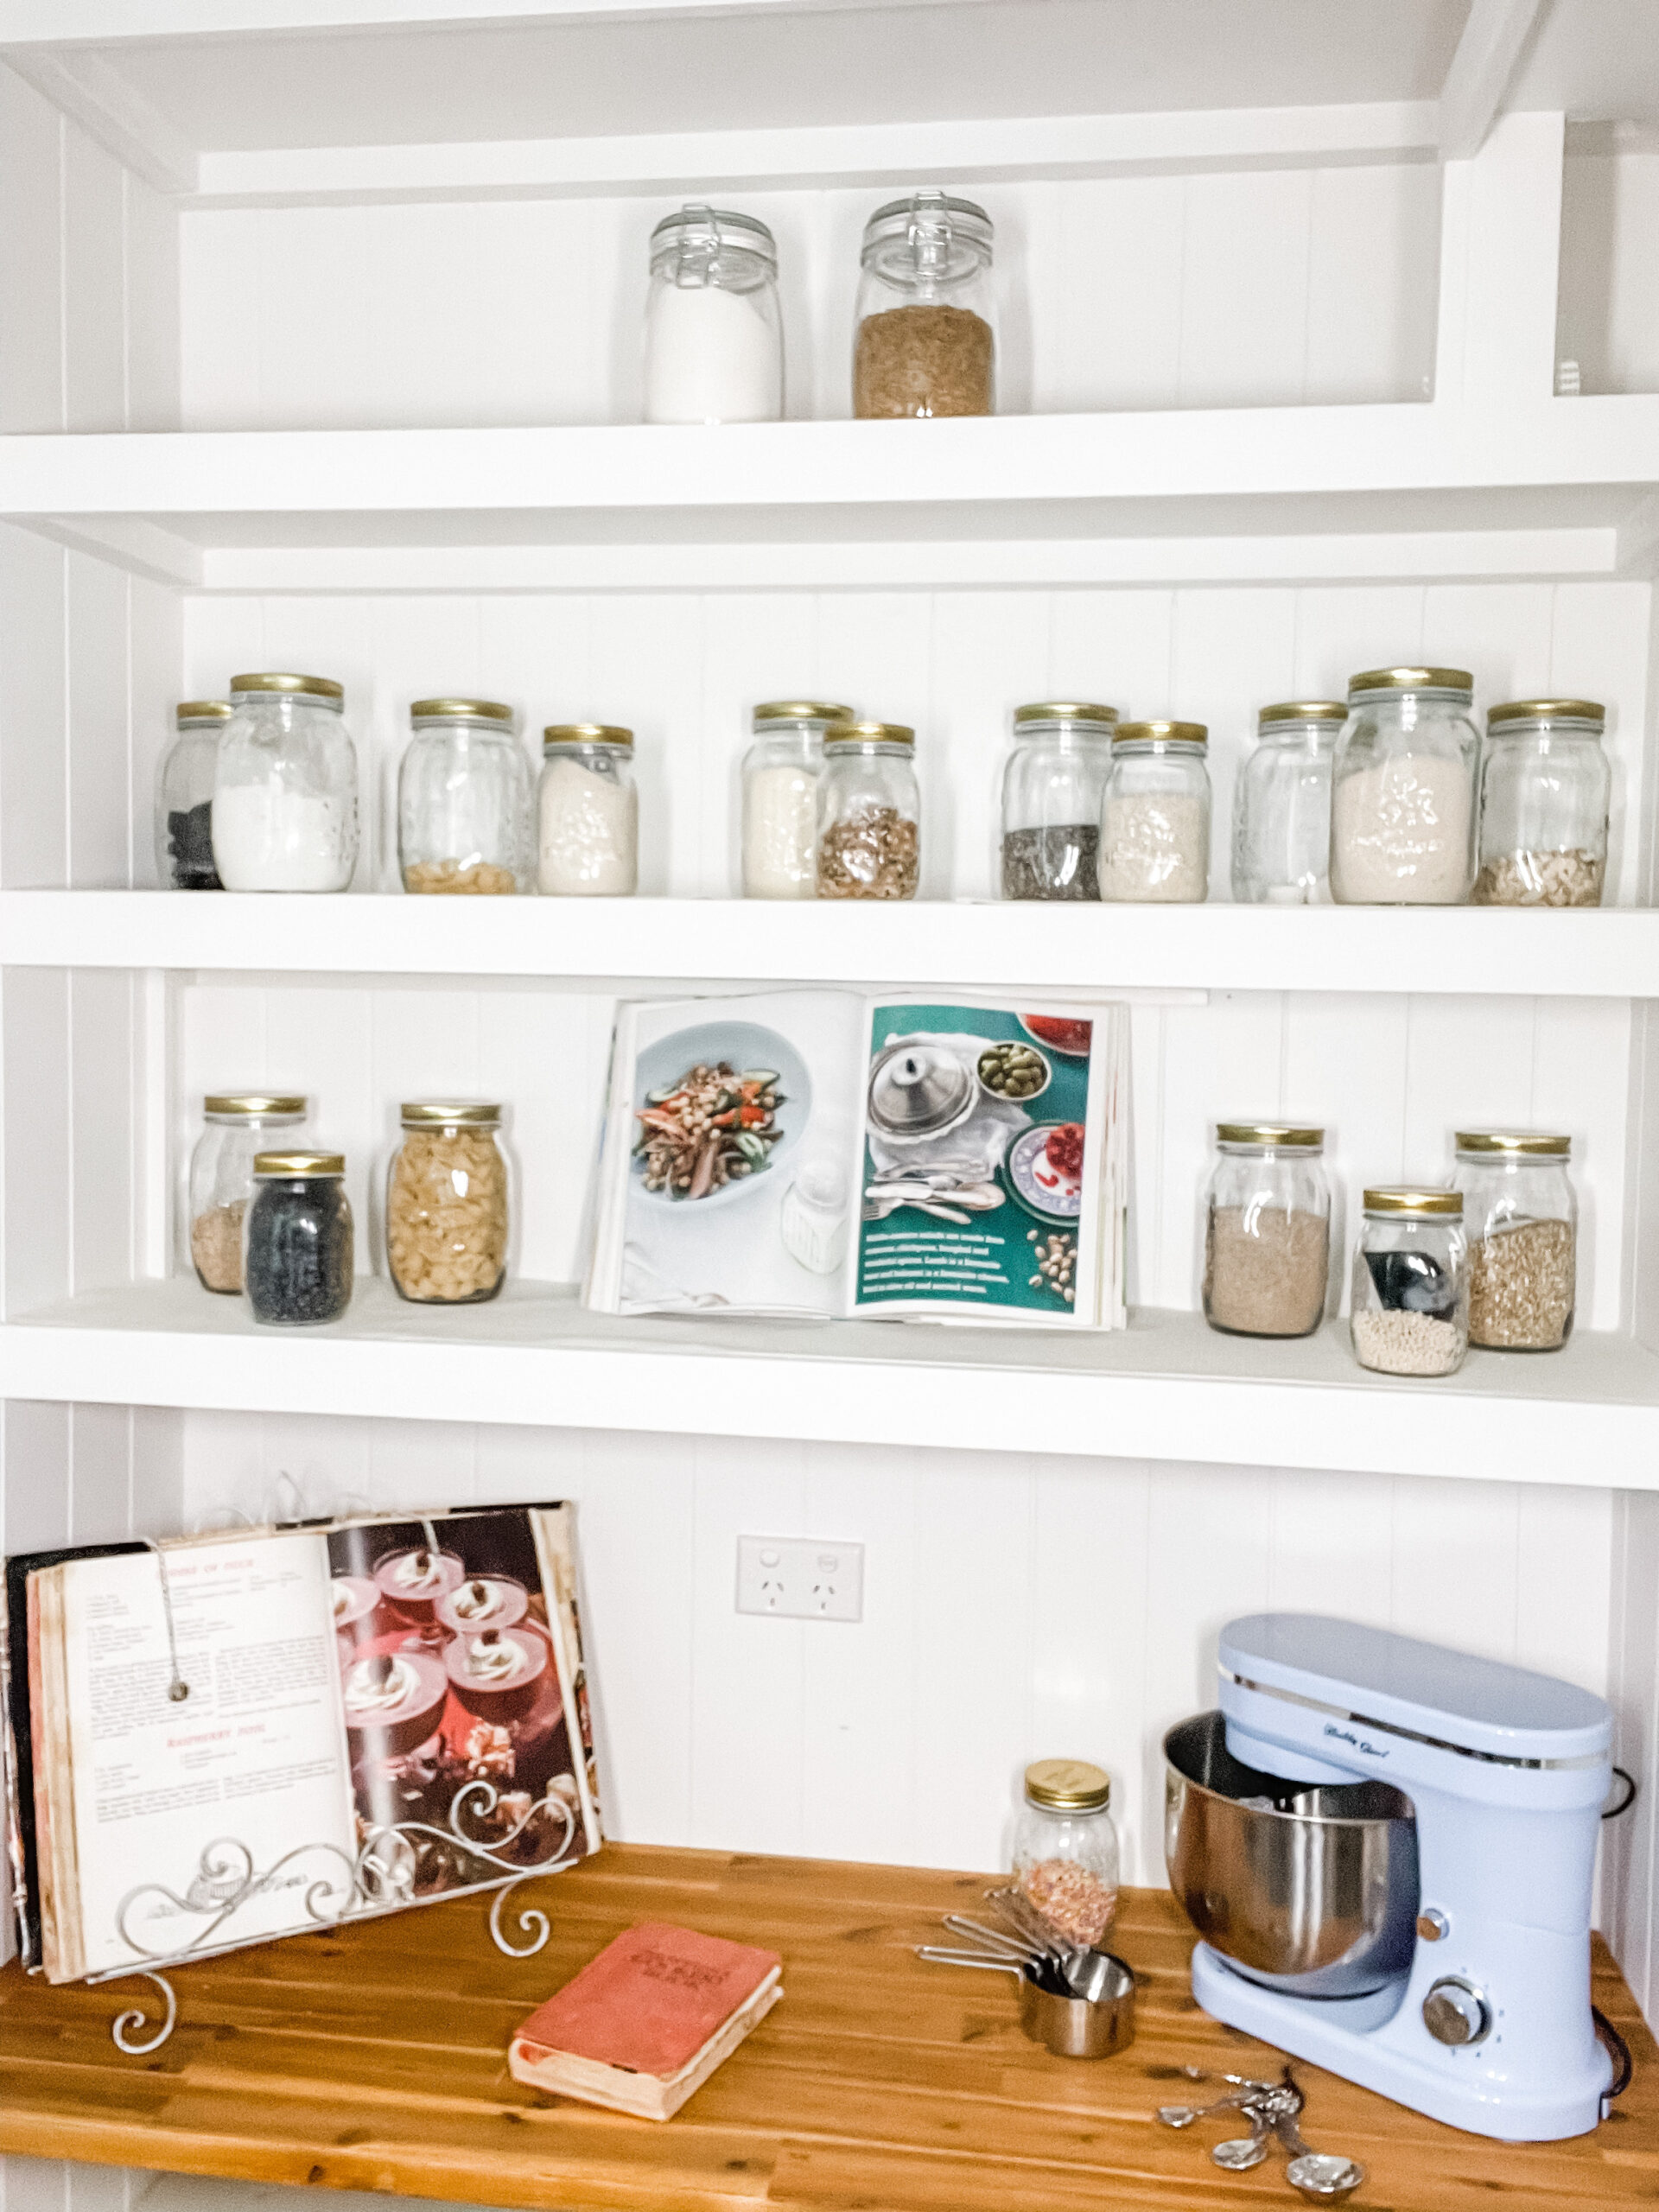
AFTER
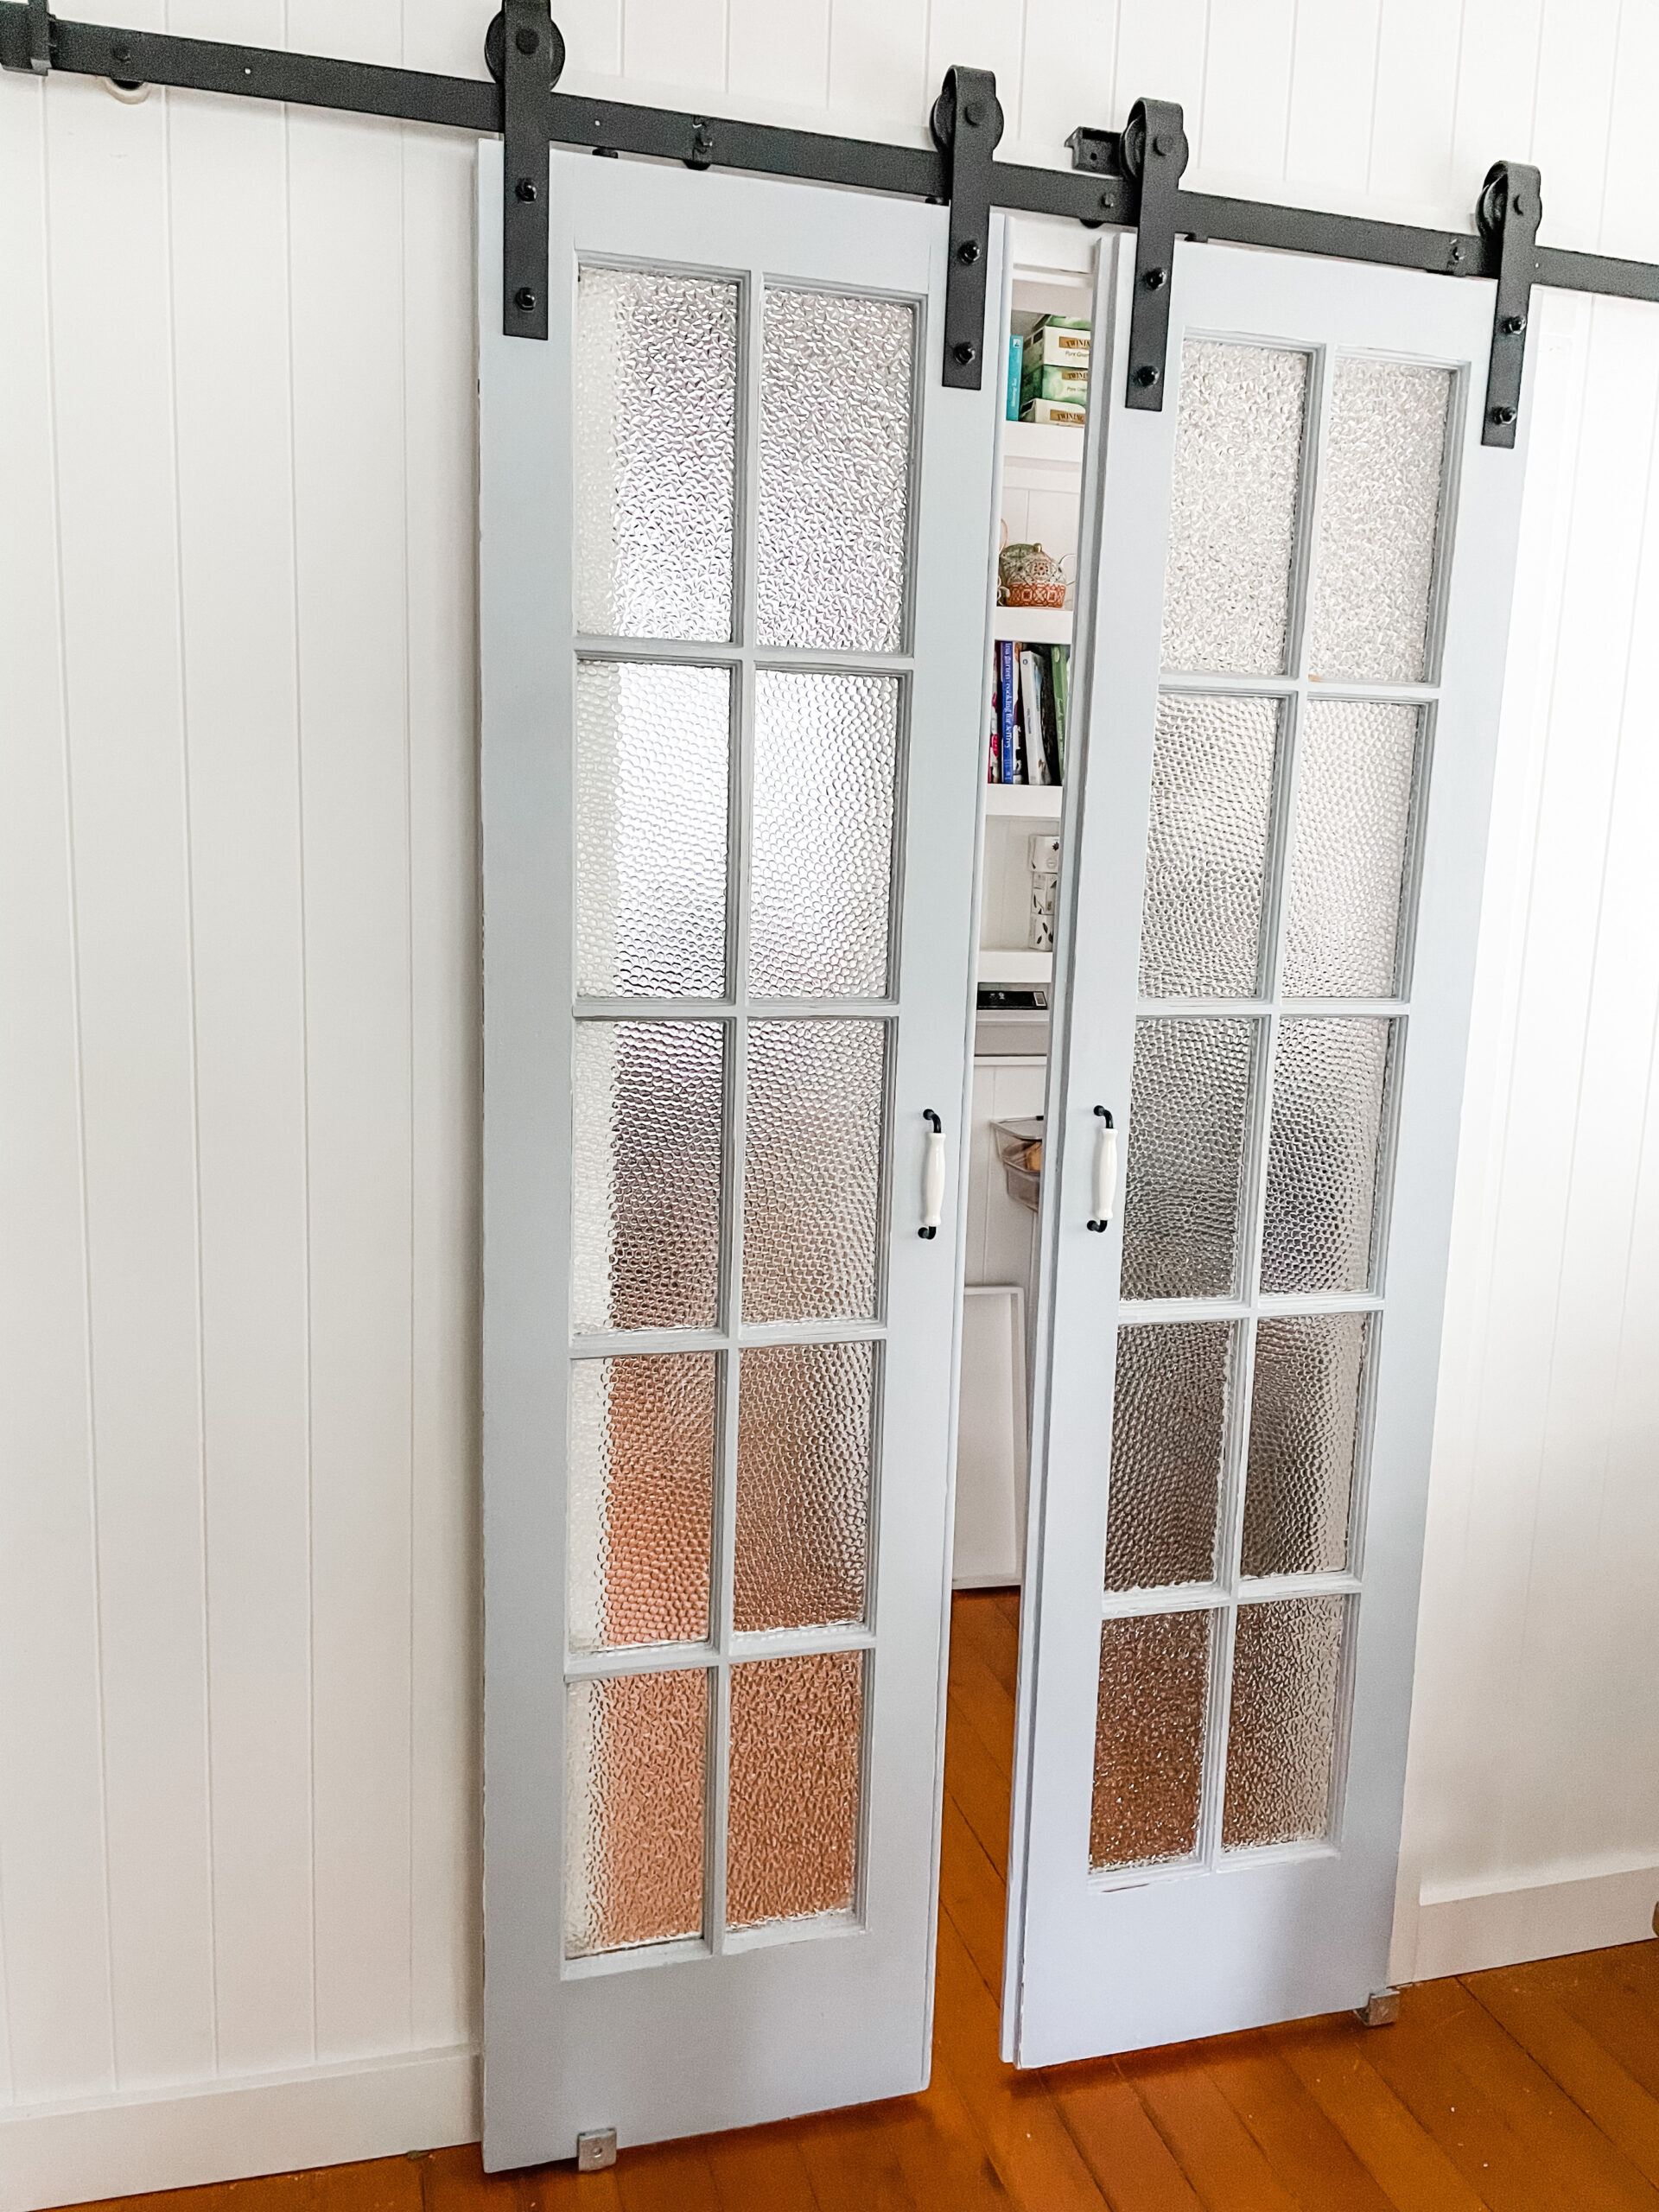
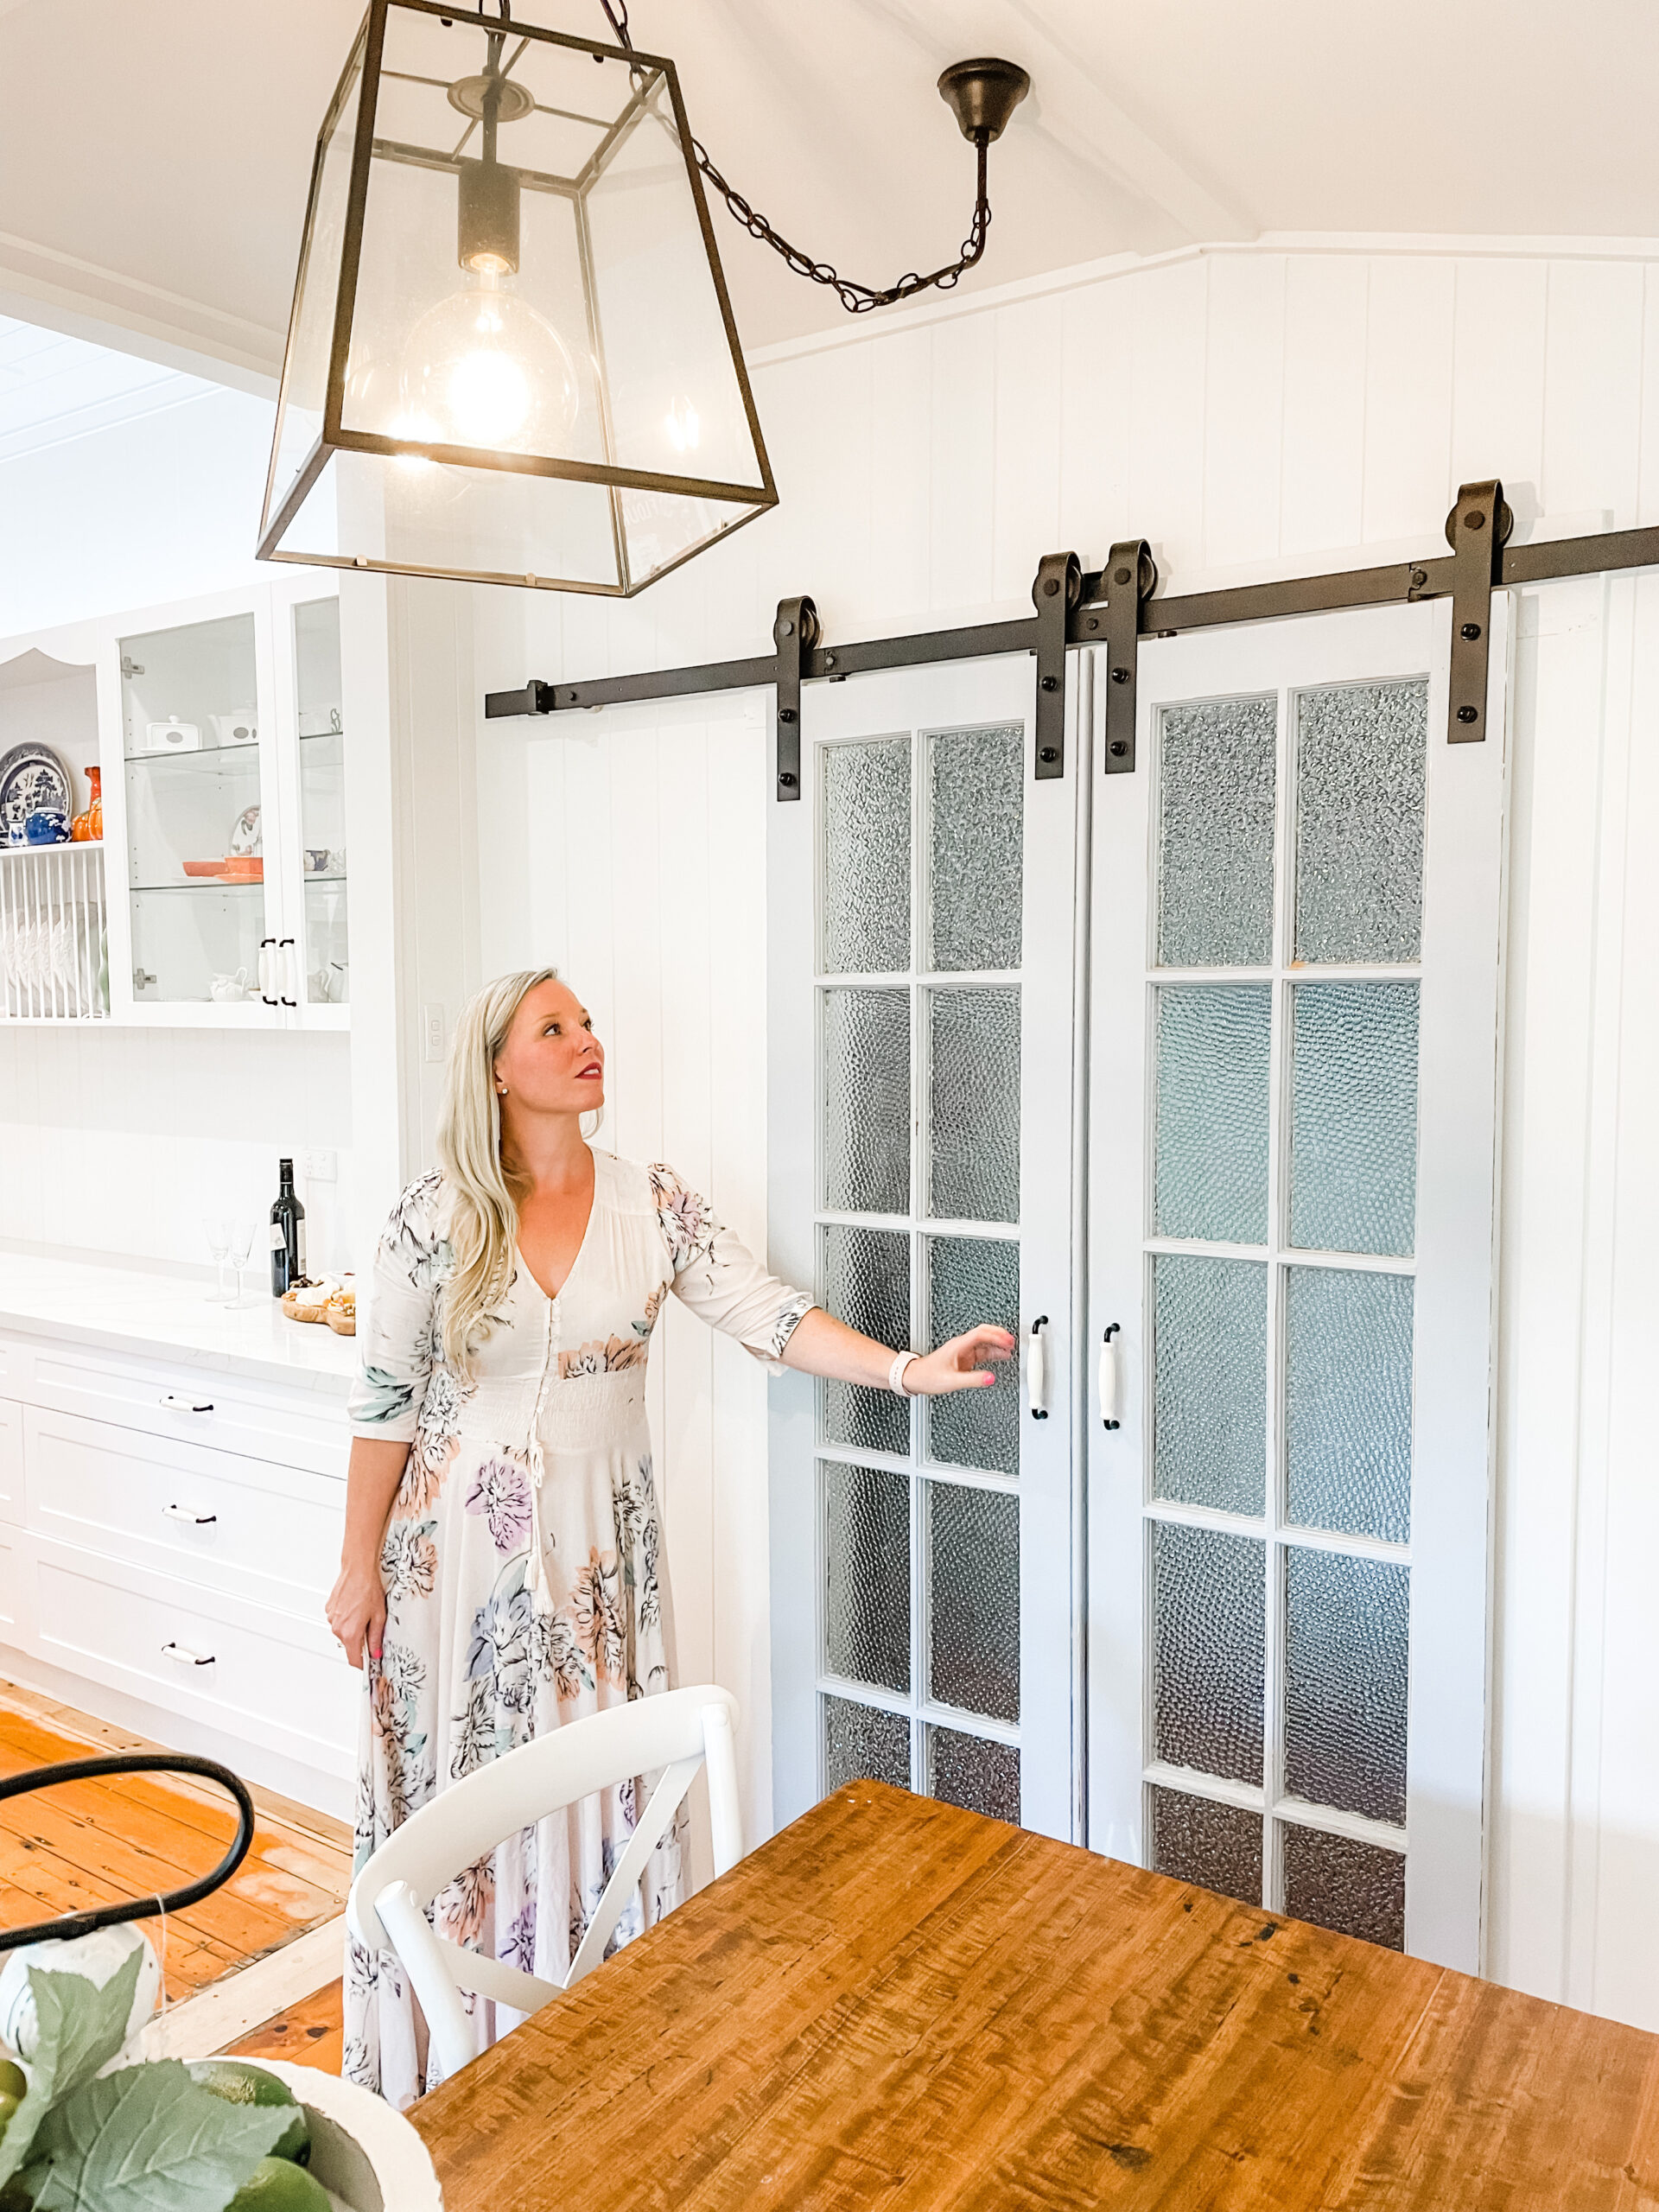
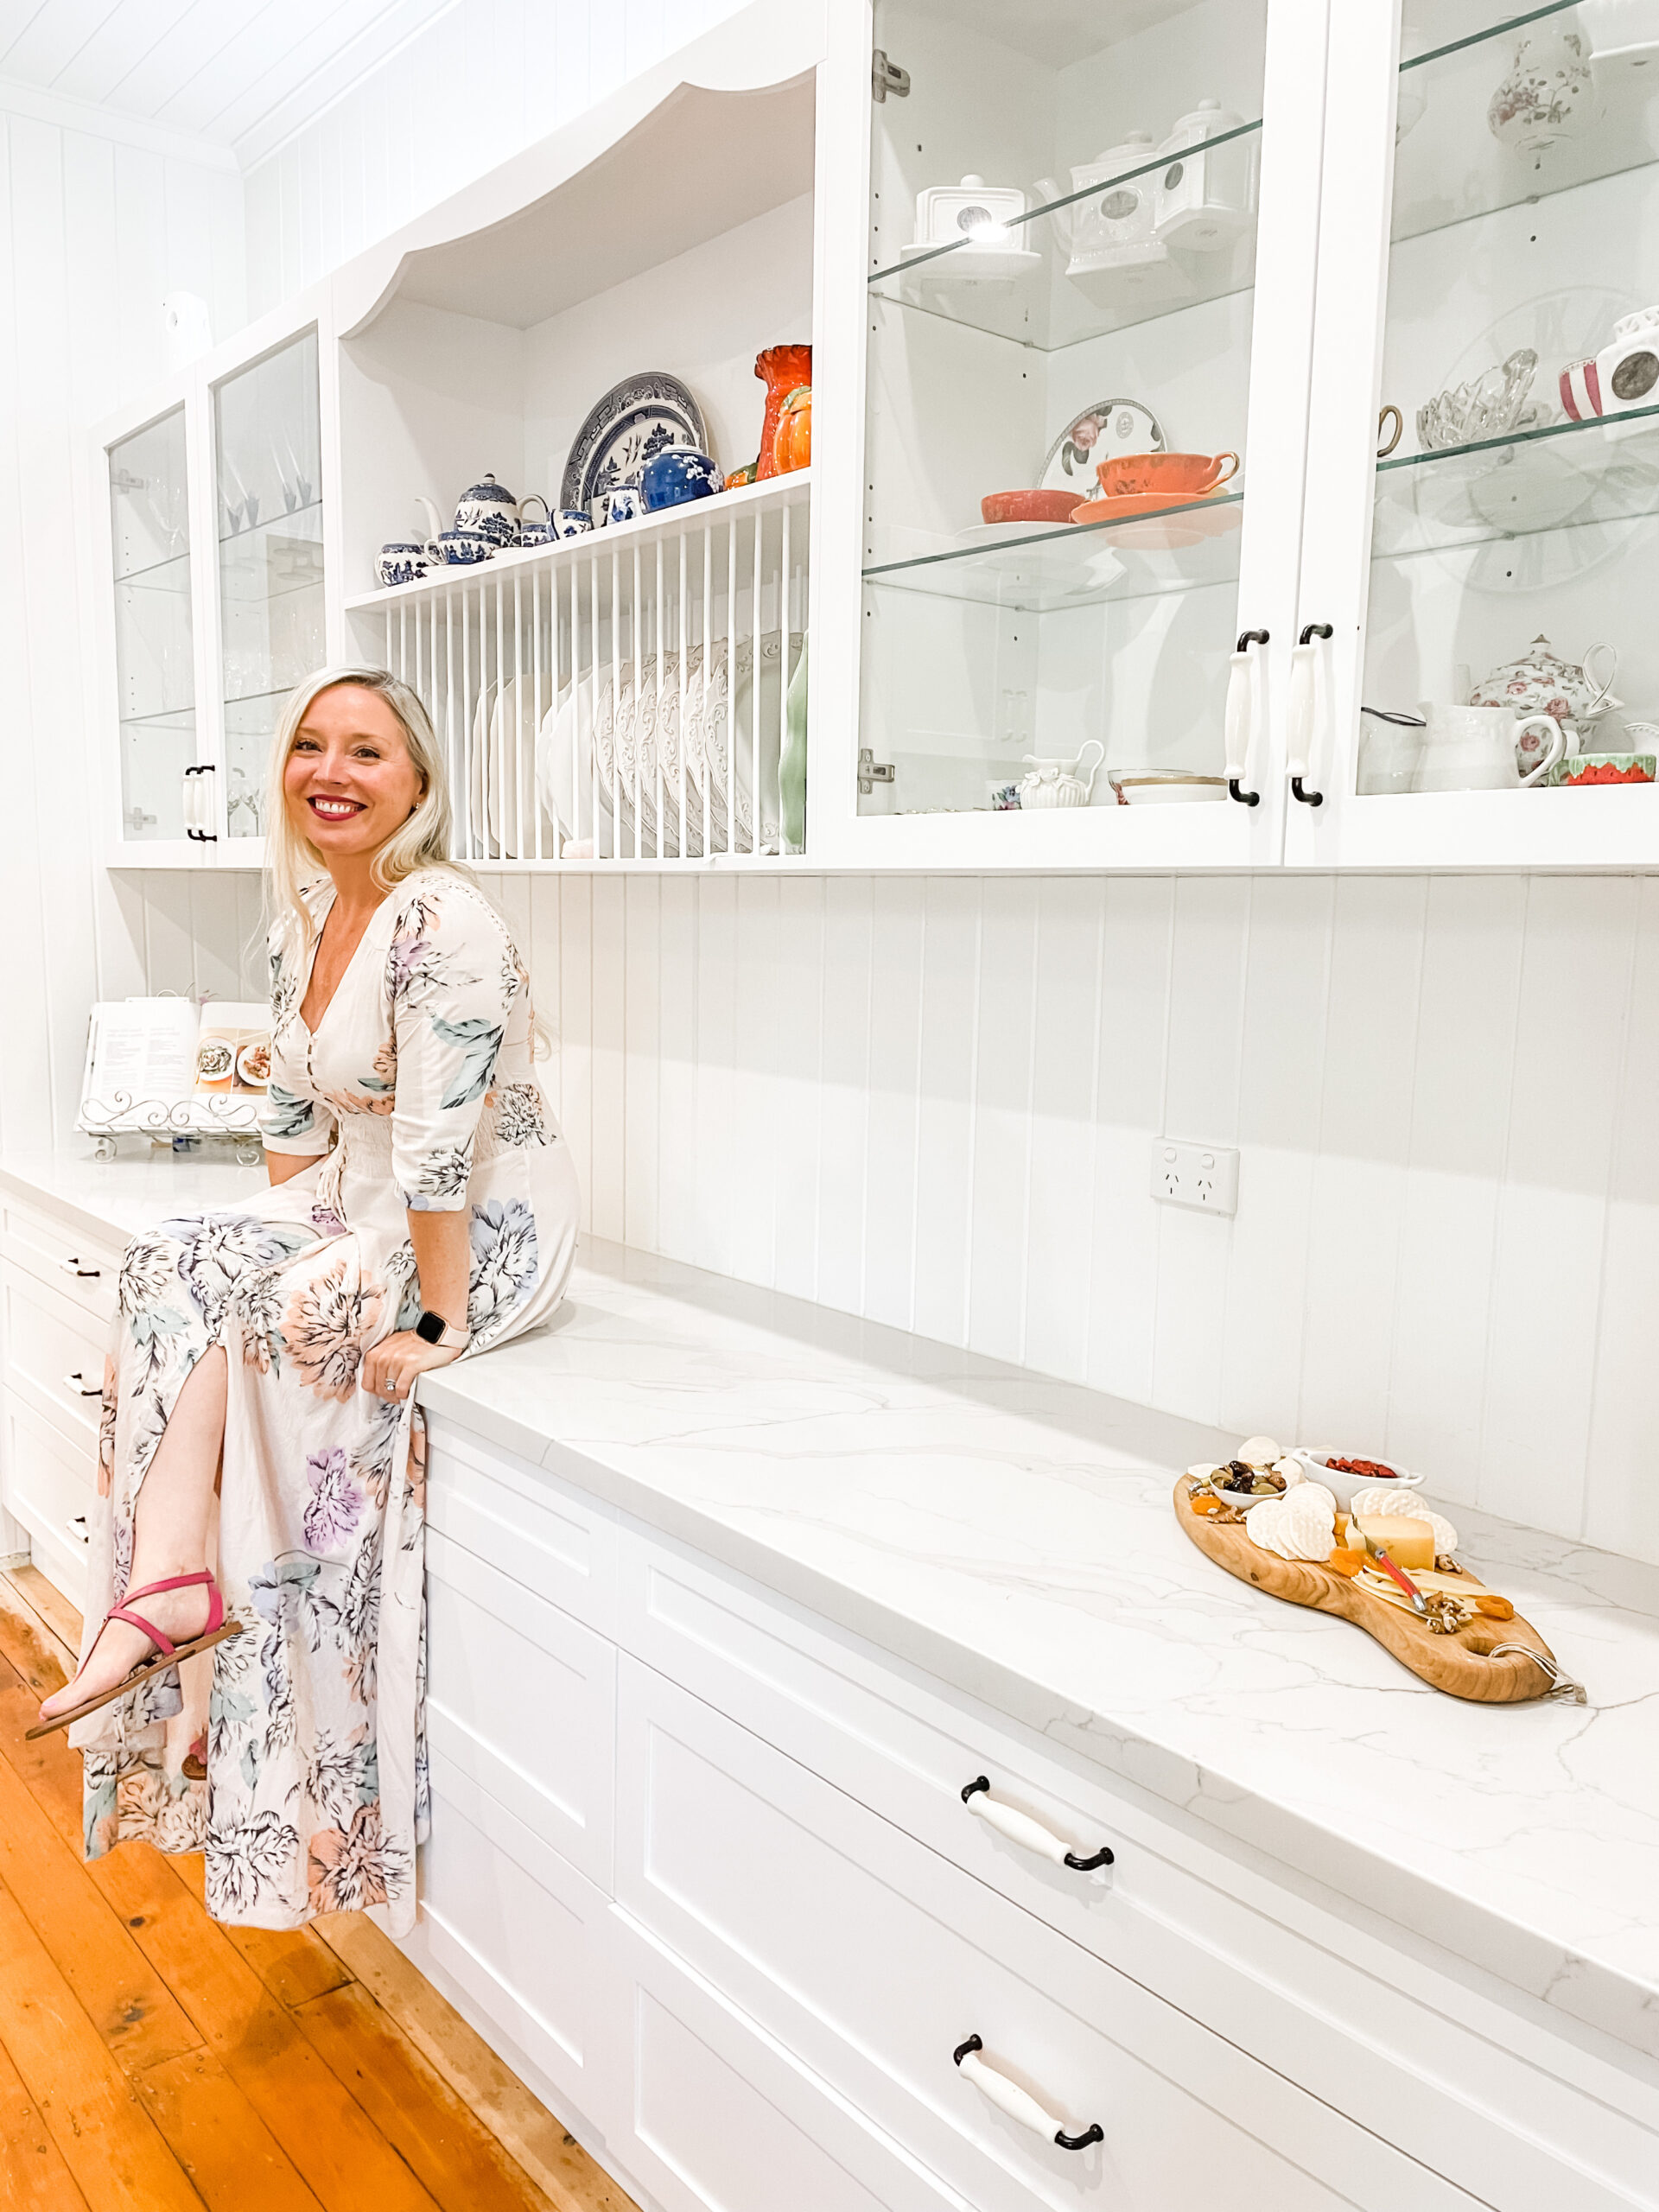
I’m going to take a breath! That was a big transformation and I’m confident we ticked off all the items of the wish list.
You have probably noticed the floors have not been finished. My parents have a flooring company coming into sand and restain the beautiful original wood floors in the coming months.
If you want to remind yourself where we started and get some DIY tips along the way then check out the previous weeks posts.


What else has been going on?
We will be raising our house next week so if you want to stay in touch with out latest reno project then make sure you join the VIP list below.
